Let Istar help you get started on your project with our experience and know-how!
Upload your design files and production requirements and we will get back to you within 30 minutes!

I have been in this line of work for a very long time. I have looked at hundreds of parts that people have asked me to make. Some designs are really good. But others have common errors that waste both time and money. This article will help you stay away from those problems. I will show you how a good design can prevent headaches for you. It can also help you get the part you need from your sheet metal fabrication shop. Reading this will help you avoid waiting a long time or paying too much for your next project.
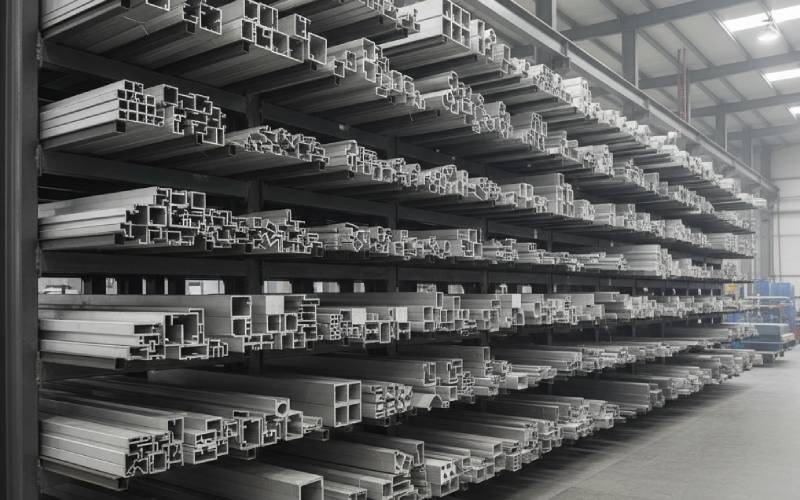
The very first mistake I see happens before any lines are drawn in a CAD file. It is about picking the right kind of sheet metal for the job. You need to think about what the sheet metal part will be used for in the end. Will it be kept inside a dry box? Or will it be outside near the ocean? What the material is like is very important. If you choose badly here, it can mess up the whole design.
For instance, using unfinished steel for a part that will be near salty air is a very bad idea. It will start to rust very quickly. This can cause the part to fail and lead to unhappy customers. This is a very important design choice you should not get wrong. For that kind of use, you should choose a material like aluminum or stainless steel. Those materials do not rust easily. Thinking about this at the start will make the whole process to manufacture the part a lot easier. A simple choice in your design can stop a big mistake from happening.
| Material | Good For | Not Good For |
|---|---|---|
| Aluminum | Parts that are not heavy, does not rust easily. | Uses that need a very strong part. |
| Cold Rolled Steel | General use, has a smooth finish for painting. | Wet or salty places (it will rust). |
| Stainless Steel | Parts for food or medical uses, use near the ocean. | Projects that need to be low-cost (it costs more). |
| Galvanized Steel | Outdoor parts that need good rust protection. | Parts that need a very smooth painted look. |

One of the most common errors I see in a sheet metal design has to do with the bend. I am talking about the bend radius. Many new designers make the mistake of making a design that has no curve in the corner. They try to make a sharp, 90-degree corner. But metal is not able to do that! It will get a crack at the bend. You need to have a curve, or radius, on the inside of the bend.
The size of this curve is a big deal. A good rule to follow is making the inside bend radius the same as the thickness of the metal. If your sheet metal part is 0.050 inches thick, your design should use 0.050 for the inside bend radius. If it is 0.040 thick, then use that for the radius. Some materials are easier to bend and can use a smaller radius. But it is always best to ask the people who will make the part. Do not just use the radius the software picks for you. A good bend makes a strong sheet metal part. The wrong bend in your design will stop us from being able to make the part. You should not use a radius smaller than 0.030 unless you talk to an expert. Having the right bend in your design is very important.
Where you put holes, slots, and other things is very important for a good design. A mistake people often make is putting these things too close to a bend. When the metal is shaped on a press brake, the area around the bend lines is stretched. It gets pulled out of shape. If your hole is too close, it can change into an oval shape. This can make your part not work right.
To stop this from happening, I tell every designer to use the 4T rule. This means any part, like a hole, should be at least four times the material’s thickness away from any bend. For example, if your material is 0.050″ thick, your hole must be at least 0.200″ from the bend. You should give your feature at least that much room. This rule is a good place to start for your design.
This rule is also true for a tab or other parts of the design. If a tab is too narrow and near a bend, it can get twisted or break when it is being formed. The machine needs good material to grab onto. Following the 4T rule is an easy way to be sure your design can be made. You should keep parts a safe thickness away from any bend. This is one of the simplest mistakes to stay away from when you design.
I often get a design that looks great on the computer. But we can’t make it with our normal tools. For example, someone might design a deep and narrow channel in a sheet metal part. The design seems okay. But a normal press brake tool with its rounded tip cannot fit inside that tight channel to make the last bend.
This is about what is possible to make. Before you make your design too complicated, think about the tool that will be used to manufacture it. Can a machine actually make that shape? A problem we see a lot is a U-channel. The sides are very tall, but the bottom part is very narrow. The outside of the tool might hit the tall sides before it can even finish the bend.
To stay away from this, make sure your design can really be made. You should try to make any U-channel wider than it is deep. A simple design that uses shapes from normal tools will save you a lot of money and time. Designs that are too complex may need special tools that cost a lot of money. A simpler design for a channel will always be less expensive to manufacture. Checking this is a very important part of the design process.
Sometimes, a design can be made more simple to make less work later on. A big place where you can save time and money is in putting parts together and welding them. I have seen a design for a box that was made from six different flat pieces. All of them had to be held in a special frame. Then someone had to weld every single seam. This is a process that takes a lot of time and money.
A better way to design it is as one single sheet metal part with bend lines. This part can then be folded to make a box shape. If you do it this way, you may only have to weld one seam to close the box. A good seam weld is easiest to do on the outside where you can see it well. This makes putting it together much faster. For box corners, you can design small tabs that fit together. This helps line up the parts before you weld. It makes the whole process to manufacture the part much easier.
Also, think about where the weld will be. Trying to weld deep inside a closed box is very hard to do. The person using the welding torch cannot see what they are doing. It is tough to make a good weld when the metal melts and it is hard to see. A good design also thinks about how the part will be put together. It makes the job easier for the people who are building it. A small change in the design here can change the final price a lot.
Many sheet metal parts need other parts like screws, nuts, or standoffs. A smart designer will make a plan for this hardware at the very start. One of the best ways to put threads in thin metal is with a self-clinching nut. This piece of hardware is pushed into a hole. It then stays there for good as part of the sheet.
The mistake I see is when the design does not leave enough space for the tool we use to put it in. To push in a self-clinching nut or a flush-head stud, you need space for the machine’s arbor press. If you put the hardware too close to a tall wall or another part of the design, we cannot put it in. This is a very common problem with hardware in a design.
You also need to think about the kind of hardware you will use. Will you use a rivet? A pem nut? Every piece of hardware has its own needs for the size of the hole and the thickness of the material. Be sure your design works with the hardware you pick. This is very important for electrical parts. Sometimes grounding is done using the hardware. Planning how your hardware will be put in is a key part of a good design.

An engineer or designer likes to try to make things perfect. I understand that. But sometimes, a design is “too perfect.” This is called over-designing. A designer might use very exact measurements for every single part. This means every measurement has to be super exact. This makes it cost more. It can also make it take longer to make.
You should ask yourself these questions about your design:
If the answer is no, then you can make the measurement less exact. Pay attention to the most important parts that change how the part works. The functionality is the most important thing. A good design finds a middle ground between how it works and how easy it is to manufacture. The same is true for parts that are just for looks. Sometimes a design has extra bends or holes just to look nice. But every part of the design adds to the cost. If a part does not make the part work better, think about taking it out to make it cheaper. When you send your design for a quote, a simple design will get you a much better price. Good functionality does not need a complex design. Your goal is good functionality, not just a nice-looking object.
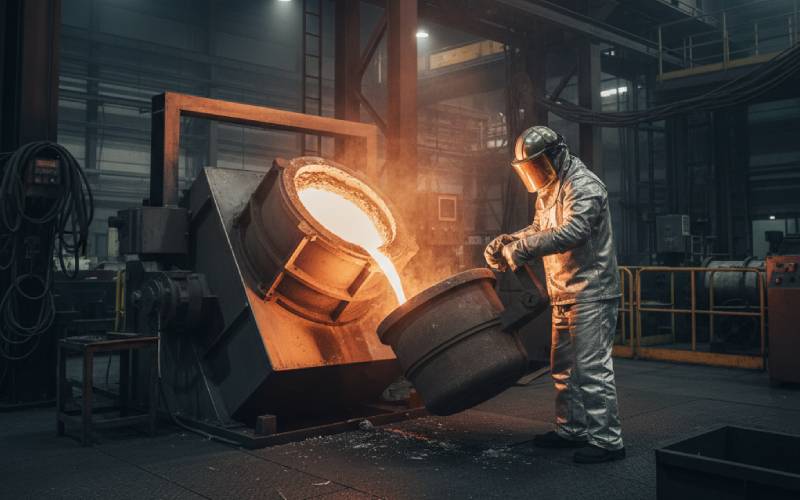
The final coating or surface on a sheet metal part is very important. It can stop it from rusting. It can stop electricity from passing through. Or it can just make the part look good. A common mistake is picking the wrong finish for what the part does. Even worse is not saying what finish you want at all. This could mean you get unfinished steel that starts to rust in a week.
There are many kinds of finish. Powder coating is a strong and long-lasting finish that comes in many colors. You can also anodize aluminum. This makes a hard layer that protects it and can give it a metallic color. For steel, you can galvanize it. This adds a layer of zinc to protect it. There are also chemical conversion finishes like chromate conversion. These help stop rust and make a good first layer for paint.
Your design needs to think about the finish. For example, if a part needs silk screening with words or a logo, its surface has to be smooth. If you are going to galvanize a part, your design needs to have holes so the extra zinc can run out. A good design thinks about the finish from the very beginning. The right finish is very important for how well the part works for a long time. The wrong finish can ruin a perfectly good sheet metal part.
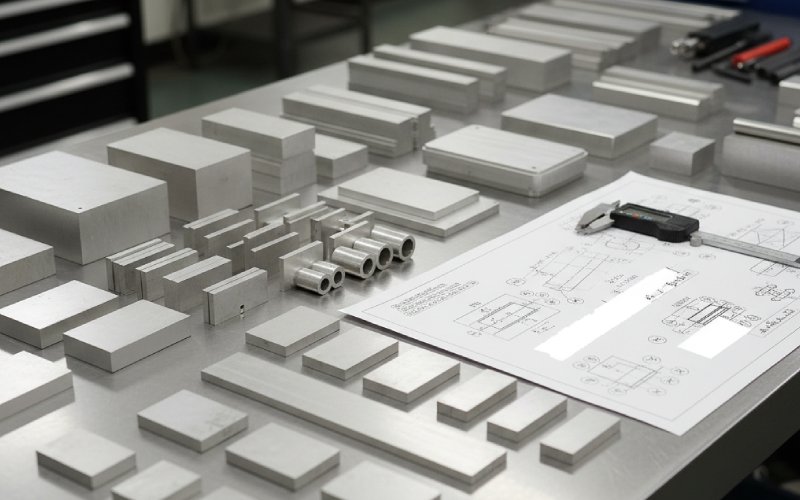
The CAD file is the set of instructions we use to build your sheet metal part. A common mistake I see is a CAD file that is hard to understand. Or it has details that don’t agree with each other. For example, the 3D model could show a 0.5″ hole. But the 2D drawing sent with the quote says the hole should be 0.4″. Which one is correct? When this happens, we have to stop all the work.
When you send an RFQ (Request for Quote), be sure your CAD file is easy to read and you update it. Put in all the information that is needed: what kind of material, how thick it is, the finish, and the measurements for important parts. Use a clear way of naming your files, like using a number for each new version. If you change something, you need to update both the 3D model and the 2D drawing.
A great design is no good if the instructions are bad. A clear CAD file makes the process to get a quote much faster. It makes sure there are no surprises when we start making the part. Take a few extra minutes to check your files before you send them. This easy step can stop a mistake that costs a lot of money and causes a long wait. It is a very important part of the design process.
After looking at hundreds of parts over the years, I can tell you the one best way to stay away from all these common mistakes. It is very simple: talk to the people who will make your part early on, when you are still designing it. A good designer knows they are not an expert on all things. Someone who has made parts for a long time can look at your design and find problems very quickly.
Do not wait until your design is completely done. You should send us an early version. You should ask questions. For example, “Is this channel too deep?” or “Is this bend radius okay for this kind of material?” We want to help you do well. A fast phone call can save you many days of having to change your design. This is the most important tip for a designer to stay away from problems when designing sheet metal parts.
The idea is that we should work together as a team. The designer knows the job of the part. The manufacturer knows the best way to make it. Working together is the very best way to stay away from common mistakes in your sheet metal design. This teamwork is the biggest secret to stay away from mistakes when designing sheet metal parts.