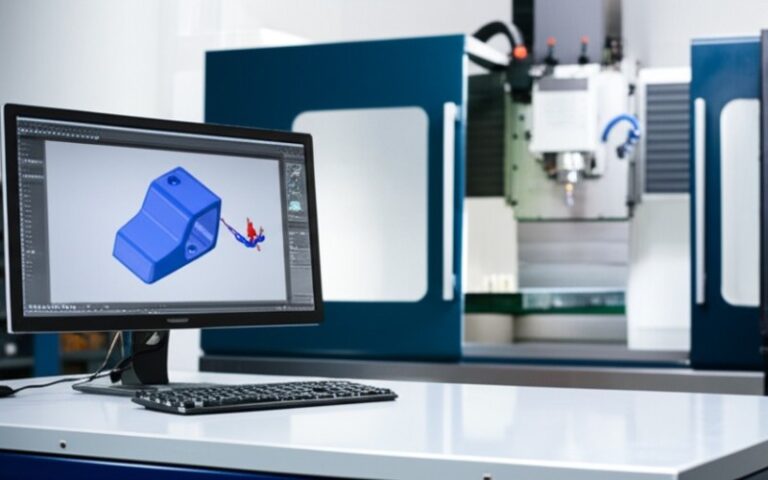
Lassen Sie sich von Istar mit unserer Erfahrung und unserem Know-how beim Start Ihres Projekts unterstützen!
Laden Sie Ihre Designdateien und Produktionsanforderungen hoch und wir melden uns innerhalb von 30 Minuten bei Ihnen!

Have you ever wondered what makes a metal strong but also able to bend? I mean the type of metal used for a sharp knife or a strong frame for a building. The secret is usually a process called tempering. I have worked with metals for many years. I can tell you it is very important to understand tempering. This article will explain all the things you need to know about this great heat treatment process. I will explain what it is and why we do it. I’ll also explain how it changes a hard, breakable metal into something with just the right mix of hardness and toughness. After reading this, you will understand how we prepare metals for everyday use.
When I talk about a metal’s temper, I mean how much hardness and toughness it has. You can think of it as the metal’s personality. After a metal is made very hard, it can also be very easy to break. This is especially true for an alloy like steel. It can be almost like glass. This is why we use the process of tempering. Tempering is a heat treatment. We use it to make iron-based alloys tougher. This treatment process helps find just the right balance.
We want the metal to be hard, so it can keep a sharp edge or hold its shape. But we don’t want it to be so hard that it cracks when you put pressure on it. The temper is that perfect middle ground. The main reason for the tempering process is to change the metal’s mechanical properties in a careful way. To do this, we heat the hardened steel to a certain temperature. Then, we let it cool down. This process lowers the hardness a little bit. It also makes the metal less likely to break, reducing its brittleness. It gives the metal more ductility. This means it can bend a little before it breaks. Getting the right temper takes both skill and knowledge. I have learned that the exact temperature and the right amount of time are very important. The final temper decides how the metal will act when it is used, if it is part of a small drill bit or a huge beam in a building. The goal is to get the best mix of strength and resistance.
I must say this again: the tempering process is very important for making many metal products that are useful and safe. Without tempering, many of the tools and machines we use every day would not work well. Think about a knife that gets a chip the first time you use it. Or a car part that breaks on the first bump in the road. That is what you would have without the magic of tempering. Tempering is used to lower the internal stresses. These are pressures that build up inside a metal when it is being hardened. These stresses are what make the metal brittle.
By heating the metal to a lower temperature than the one used to harden it, we let the tiny parts inside move around. They settle into a shape with less stress. This heat treatment process makes the metal tougher. It also makes it better at handling shocks. The benefits of tempering are easy to see. You get a material with better ductility and toughness while maintaining good hardness. This means the metal can take in energy and change shape a little without breaking. Tempering can help make a metal that is strong and can be trusted. This is just what we need for most jobs in metal fabrication and making things.
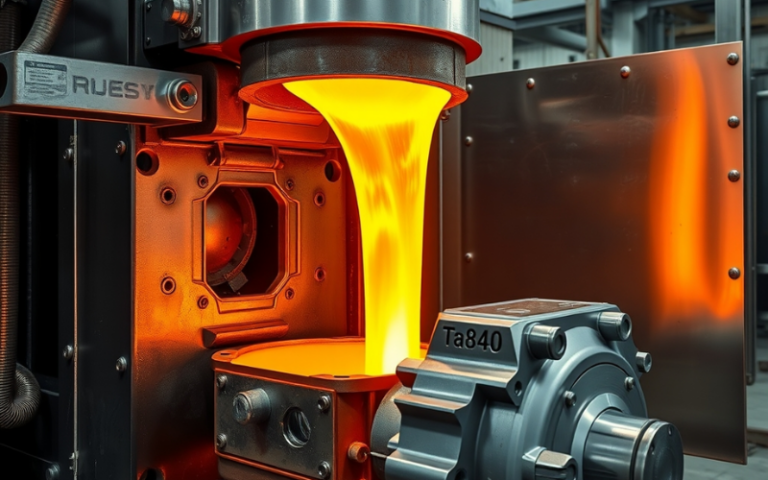
Before you can even think about the temper, you must first harden the metal. The hardening process is what gives the metal its first high level of hardness. For an alloy like carbon steel, this means heating the metal to a very high temperature. It is heated above its upper critical temperature. When the material is heated to this point, its inside structure changes. I have seen this many times. The metal is heated until it glows a bright red color.
As soon as the metal gets to the right temperature, it needs a fast cooling. We call this a quench. This is usually done by putting the hot metal into water, oil, or another special liquid. This rapid cooling, or quenching operation, freezes the changed structure, called martensite, in place. Martensite is what makes the steel very hard. But like I said, it is also very easy to break. The speed of the cooling rate is very important here. A fast quench makes the metal harder and stronger. This hard and brittle condition is the starting place for the tempering process.
I have talked about this a little, but let’s look closely at the good things that come from tempering. The main goal is to improve the toughness of the metal. Toughness is how well a material can take a hit without breaking. A hard but brittle metal does not have much toughness. After tempering, the metal is much better at dealing with sudden hits. This heat treatment is all about making a good balance between hardness and toughness.
Here are some of the main benefits you get from a good temper:
This table shows how tempering changes the properties of metals:
| Eigentum | Before Tempering (Hardened) | After Tempering |
|---|---|---|
| Härte | Sehr hoch | Hoch |
| Toughness | Sehr niedrig | Hoch |
| Zerbrechlichkeit | Sehr hoch | Niedrig |
| Internal Stresses | Hoch | Niedrig |
| Duktilität | Sehr niedrig | Hoch |
Carbon steel is a great way to explain how tempering works. When you harden carbon steel, its structure is mostly made of martensite. This is hard but easy to break. The process of tempering includes heating this hardened carbon steel to a specific temperature. This temperature is below its lower critical temperature. This critical point is important. If you heat it hotter than this point, you will start to undo the hardening.
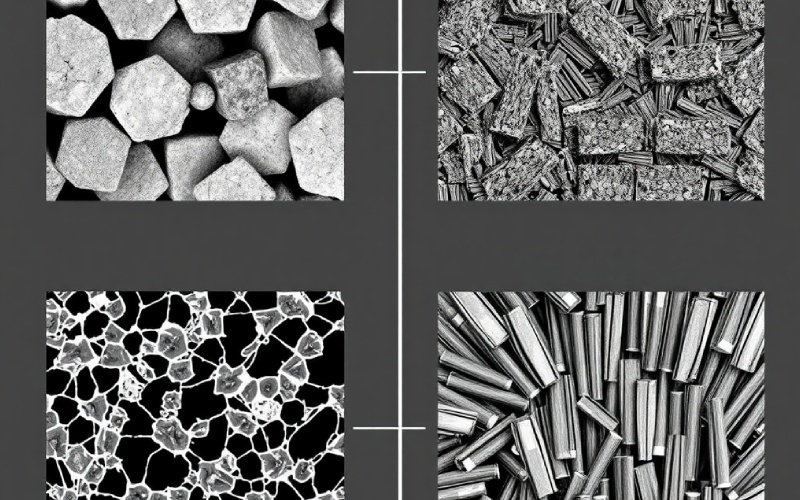
When the hardened carbon steel is heated to the right tempering temperature, the carbon bits inside the martensite structure begin to move. They join with iron bits to make tiny, hard parts called carbides, like ferrite and cementite. This new structure is much tougher than the first martensite structure. How much it changes depends on two things. It depends on the tempering temperature and the dwell time. The dwell time is how long you keep the metal at that temperature. Hotter temperatures and longer tempering times will give you a softer but tougher metal. For things like springs, you would temper at a hotter temperature to get more ability to bend. For a tool that cuts, you would use a lower temperature to keep more of the hardness.
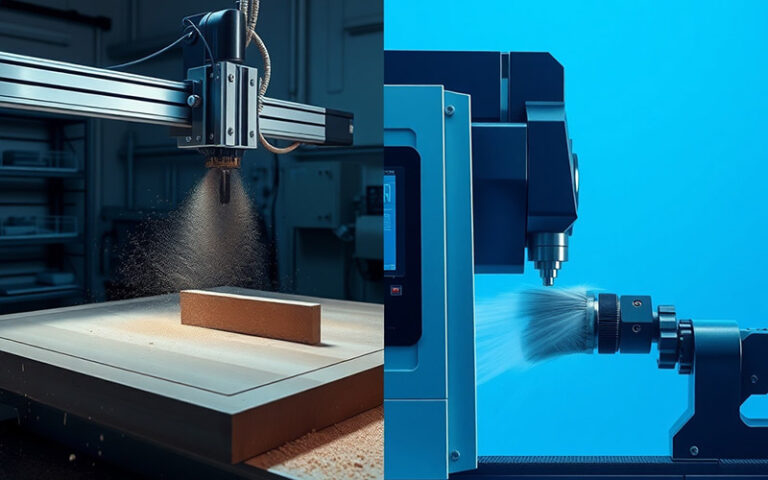
People often get tempering and annealing confused. But they are very different heat treatment processes. I always tell my helpers that the main difference is the starting point and the final goal. You temper a metal that is already hard to make it tougher. The need to anneal, however, is usually about making a metal as soft as it can be so it is easy to work with.
To anneal a metal, you heat it above its upper critical temperature. Then you let it cool down very, very slowly. This slow cooling process lets the inside grains of the metal get big and relaxed. This results in a soft material with high ductility. An annealed steel is easy to machine, drill, or bend. Tempering, on the other hand, begins with a hard metal. It uses a much lower temperature. Then it has a faster cool (usually in the air) to get a mix of hardness and toughness. Think about it like this: you anneal to get a metal ready for shaping. You temper to get a shaped metal ready for its final job. Both are types of heat treatment, but they are used to do opposite things. Other similar processes are annealing and normalising.
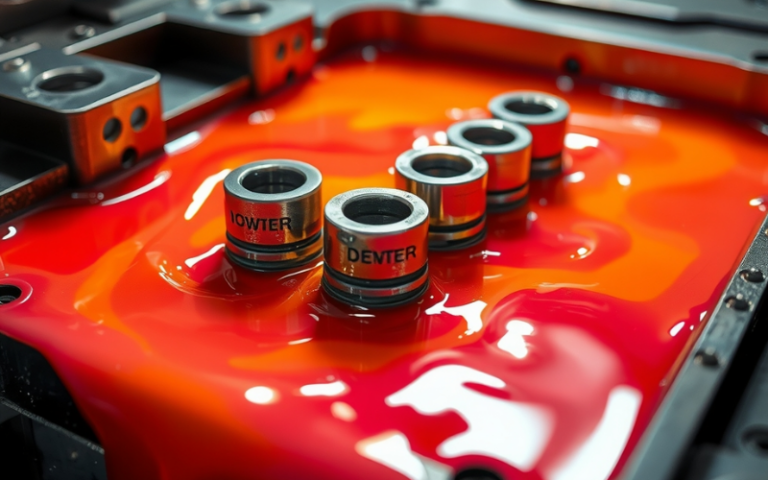
Yes, you can! This is one of the most interesting parts of working with metal. When you heat a shiny piece of steel, a thin layer of rust forms on the top. The thickness of this layer changes with the temperature. This makes it show light in different ways. This creates a beautiful set of tempering colors. I have used these colors for years as a simple guide to guess the tempering temperature.
The colors begin with a very light yellow at a lower temperature. Then they change to straw, brown, purple, and blue as the temperature gets hotter. Each color matches a certain level of hardness and toughness. For example, a light straw color is good for tools that must be very hard, like a marking tool. A blue color shows a much higher tempering temperature. It is good for things like springs that need to be very tough and able to bend. It takes some practice. But watching the tempering colors move along a piece of steel is a skill that every metalworker learns to like. It is a sign you can see of the magic going on within the microstructure of the metal.
If you do all the work to harden a metal but then you skip the tempering step, you often end up with a part that cannot be used. The hardened steel will be so easy to break that it might as well be made of glass. I have seen this happen. A tool that was perfectly good can break into pieces the first time it is used. This is because the internal stresses from the quench were never taken away. The metal has amazing hardness, but it has zero toughness. It cannot take a hit or even bend a little bit.
Without tempering, the metal has very poor resistance to fracture. Even a small hit or a quick change in temperature can make it crack. This is why tempering is also a very important step in jobs like welding. The welding process can make hard, brittle spots in the metal. After welding, a heat treatment, which is a type of tempering, is often needed to bring back the toughness of the structural steel. To put it simply, not tempering a hardened metal is asking for it to fail. It creates undesirable mechanical properties. This makes the metal not safe and not dependable.

The tempering temperature is the most important part of the tempering process. It has a direct effect on the final properties of the material. As I said about the tempering colors, a different temperature will give you a different mix of hardness and toughness. The rule is easy to remember. The higher the tempering temperature, the softer and tougher the alloy will be.
Let’s use tool steels as an example. A tool made for cutting, like a bit for a machine, needs to keep a very sharp edge. It needs high hardness. To get this, I would temper it at a fairly lower temperature. This might be in the light to dark straw color range. This gets rid of just enough stress to stop it from chipping but keeps the hardness high. But a chisel that will be hit with a hammer needs a lot of toughness. For this, I would use a higher tempering temperature. I would look for a purple or blue color. This will reduce the hardness more. But it will give the metal the ductility it needs to take the hammer hits without breaking. To achieve the desired balance, you must choose a precise temperature. You must also hold it for the right amount of time.
I have explained many of the details, so let’s put it all together now. The steps for making tempered steel are simple, but you must be careful. If I were going to temper a piece of metal in my workshop, these are the steps I would take.
The result of this careful heating and cooling is a piece of tempered steel. It has the perfect mix of properties for its job. This heat treatment changes a basic piece of alloy into a part that works very well. Tempering is often used to improve the machinability and tensile strength of the final item. This is true for everything from simple sheet metal to difficult parts for a machine.