Deje que Istar le ayude a poner en marcha su proyecto con nuestra experiencia y conocimientos.
Cargue sus archivos de diseño y requisitos de producción y nos pondremos en contacto con usted en menos de 30 minutos.
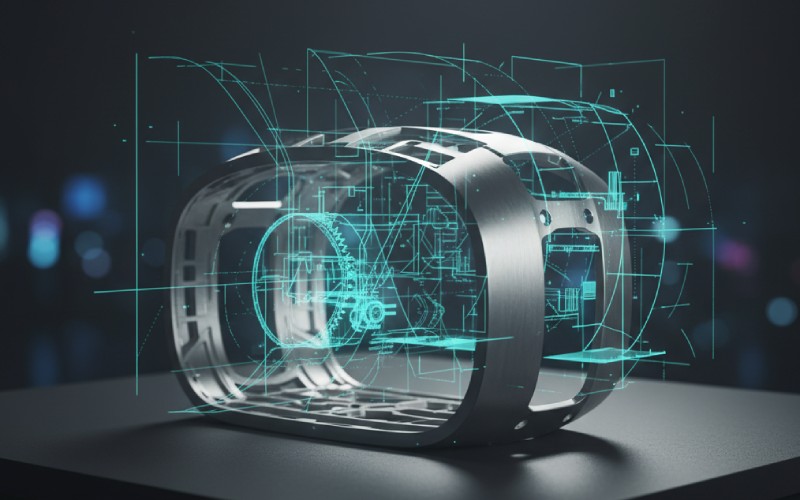
An injection molding machine can take very small plastic pellets and, in just a few seconds, turn them into a perfect, detailed plastic part. This guide to injection molding is for any person who has an idea for a plastic part but is not sure how to begin. We will go through the basics of plastic injection molding step by step. You will learn how the magic really happens. You will also learn how to design your own parts and how to stay away from the easy mistakes I made when I was new to this. This article will help you save time and money on your first injection molding project.
When I first heard the name plastic injection molding, it sounded hard to understand. But it is really a very simple idea. You can think of it like a high-tech hot glue gun that fills up a special metal box. Molding is the process of making items by giving shape to a liquid inside a special container. For this, we use plastic that has been melted. This molding is a manufacturing process that is used to make a very large number of the same plastic part.
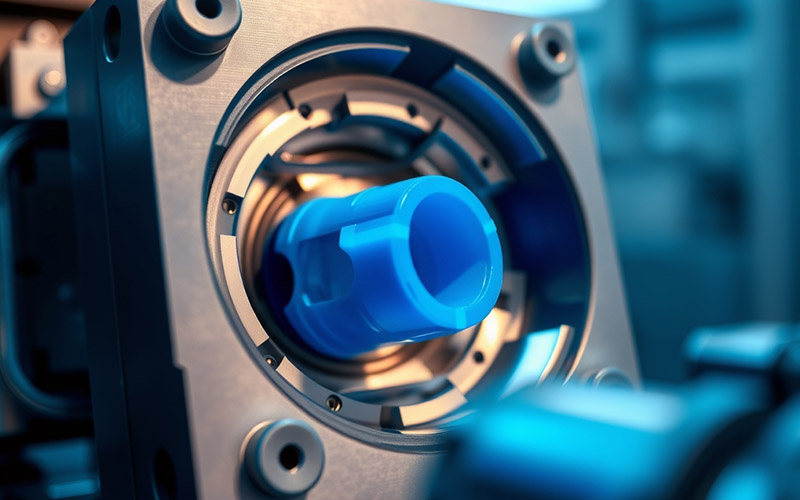
The “container” is called a mold or a tool. The injection mold is a metal block with a hollow space inside it. It is usually made of steel or aluminum. This empty space is called a cavity. The cavity has the perfect shape of the part you want to make. We inject hot, liquid plastic into this mold. The plastic then starts to cool down and becomes hard. It takes the shape of the mold. After that, the mold opens up and the new plastic part is pushed out. This process used to make parts is very fast. It can be done over and over again, thousands or even millions of times, to make parts that are exactly the same. Molding is the most common way we create plastic products, like toys and parts for cars.
This manufacturing process is wonderful because it allows us to make very detailed plastic parts. The cost for each part is very low, but you have to make the first injection mold first. The injection mold can cost a lot of money. But when you are making thousands of parts, that cost is spread out over all the parts. This is the secret to how almost every plastic thing you see is made. It all begins with a great idea and a great injection mold. The injection mold is the most important part of the whole process.
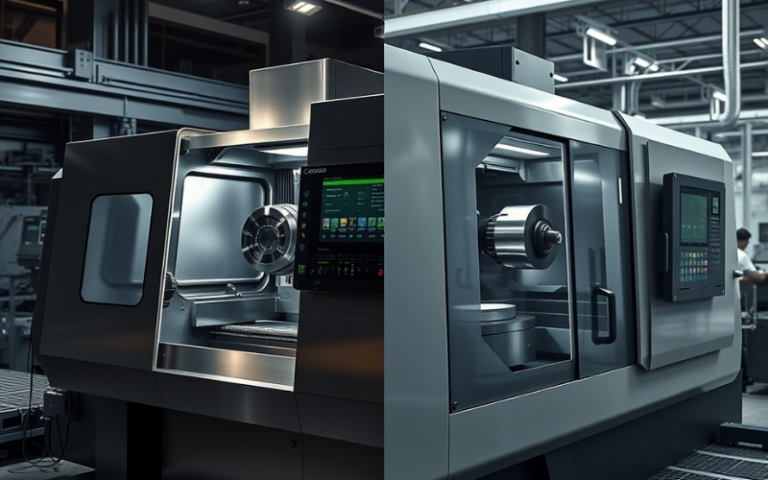
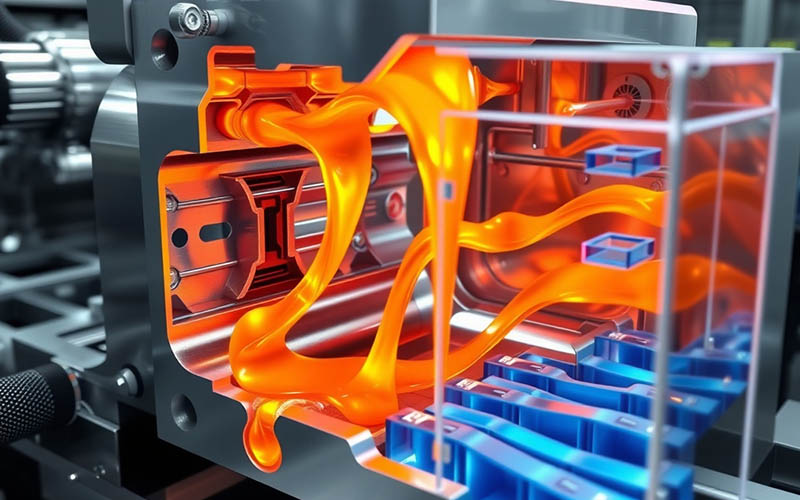
The injection molding machine has two important jobs to do. The first job is to melt the plastic. The second job is to inject the molten plastic into the injection mold. The machine looks like a huge clamp. It has a big nozzle at one end. The mold is held very tightly in the middle of the machine. The clamp has to be very strong. It must hold the mold closed when the hot plastic is injected with a lot of force.
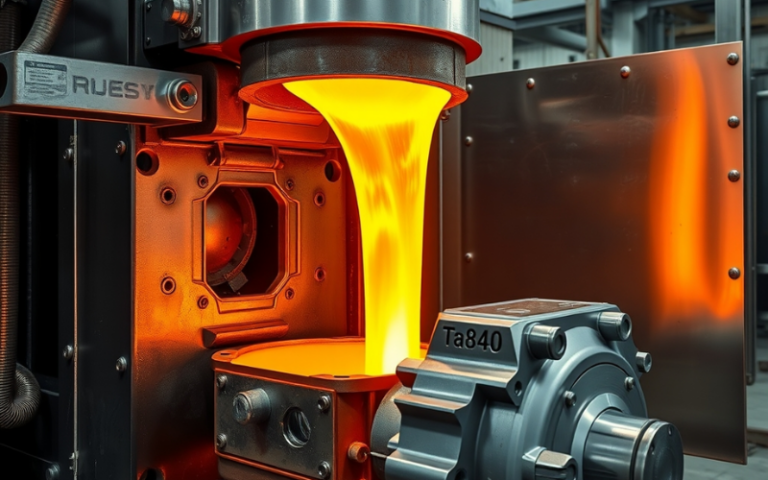
The machine begins with small plastic pellets. These pellets are put into a large heated barrel. Inside the barrel is a big screw. As the screw turns, it melts the plastic pellets and pushes them forward. The heat and the force from the screw turn the raw plastic into a liquid, like hot honey. When there is enough melted plastic, the screw moves forward like a plunger. This pushes the molten plastic out of the barrel and into the injection mold.
After the injection mold is filled, the machine holds the pressure for a short time. This makes sure the part is completely filled. Then, the machine waits for the plastic inside the mold to cool off and become hard. The machine helps the mold to cool more quickly by running water through paths inside the mold. As soon as the part is hard, the machine opens the clamp. The mold comes apart into its two halves, and the finished plastic part is pushed out. This entire cycle can be finished in just a few seconds. How well the injection mold is made is very important for making a good part.
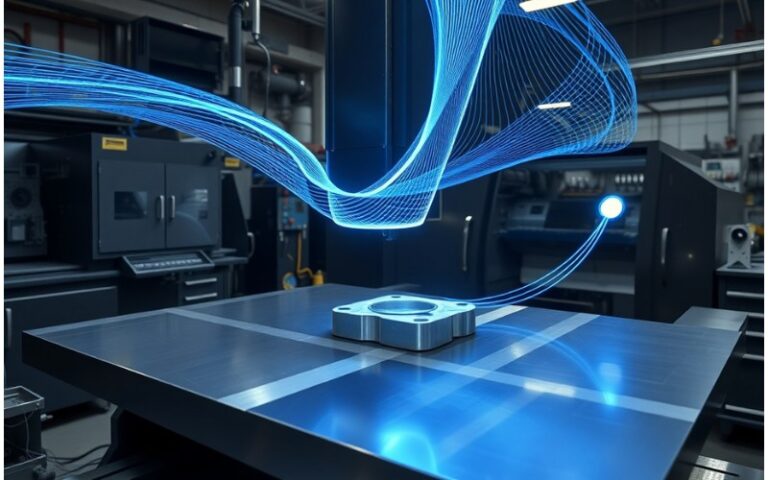
The injection mold is the most important part of this whole puzzle. You can have the best machine and the best kind of plastic. But if your injection mold is not good, you will get a bad part. A mold is a tool that is made very carefully, usually from steel. It is made using a CNC machined process. This process cuts the cavity into the shape of your part. The mold is made from two large pieces, which are called halves. One half of the mold is on the side of the machine that does not move. The other half of the mold is on the side that does move.
When the injection molding machine closes, these two mold halves join together tightly. They form a sealed mold cavity. There are small paths inside the mold called “runners.” These runners help guide the liquid plastic from the machine’s nozzle into the cavity of the mold. The mold also has small pins called ejector pins. These pins push the part out of the mold after it is cool. A good injection mold is made so that plastic fills it in a smooth way. It is also designed to cool the part quickly and push the part out easily without breaking it.
This special tool gives your final plastic part all of its details. The surface finish of the cavity inside the injection mold decides the surface finish on your part. If you want a part that is shiny, the inside of the mold has to be polished until it looks like a mirror. If you want a part with a texture, that texture is carved into the mold. How well this injection mold is made decides how good every single molded part will be. A steel mold that is made well is a strong tool. It can last a very long time. This is why having a good injection mold design is so important.
When you are designing and manufacturing a plastic part, you must think about how it will be made inside an injection mold. I learned this the hard way. I once designed a part that looked wonderful on my computer. But it was not possible to get it out of the mold! There are a few very important design principles you have to follow. These easy design rules will make a huge difference for your injection mold.
The most important rule is to make the walls of your part the same thickness everywhere. This is called wall thickness. If one area of the wall is very thick and another is very thin, the plastic will cool down at different speeds. The thick spots take more time to cool and can shrink more. This can make the part bend or have ugly marks called sink marks. A wall thickness that is the same all over helps the plastic flow smoothly into the injection mold. It also helps the part cool down at the same speed everywhere.
Another key rule is called “draft.” Draft is a tiny angle that you add to the walls of your part. These are the walls that go in the same direction that the mold opens. Imagine a plastic cup. Its walls are not perfectly straight. They have a slight angle. This angle, or draft, helps the part come out of the injection mold easily during ejection. Without draft, the part can get stuck inside the mold. The ejector pins might leave marks or could even break the part. A good basic design will always have the right wall thickness and draft. The injection mold needs these things to work correctly.
The mold design is like a blueprint for your injection mold. A good mold design considers everything. It thinks about how the plastic will go into the cavity. It thinks about how the air will get out. It thinks about how the part will cool and how it will be pushed out. I once had a project where the mold had the gate in a bad spot. A “gate” is the little opening where plastic goes into the mold cavity. Because the gate was in the wrong place, the plastic did not fill the injection mold the right way. We kept getting parts that were not complete.
A good injection mold design also plans for detailed features. Sometimes, a part needs a feature like a hole or a clip on its side. This kind of feature is called an undercut. An undercut stops the part from being pulled straight out of the mold. To make a part with an undercut, the injection mold needs a special moving piece. This piece is called a side action or a slide. The side action moves into position to make the undercut shape when the mold is closed. Before the mold opens, the side action moves out of the way. This lets the part be pushed out. These extra moving pieces make the injection mold harder to build and more costly. So, you should only use an undercut when you truly need one.
In the end, a good mold makes a good part, and a bad mold makes a bad part. It is as simple as that. If you spend time and money on a top-quality mold design and a well-made injection mold, you will avoid so much trouble later. This is the base for the entire production of plastic parts. Every little detail in the mold will be on your injection molded part. This mold is a very important tool.
There are thousands of different plastic materials you can use for injection molding. These are also called resins. Picking the right resin is a very big deal for your plastic component. You have to think about how your part will be used. Will it need to be strong? Should it be flexible? Do you want it to be clear? Will it be used outdoors in the sun? Each plastic material has its own special features.
The most common injection molding materials are called thermoplastic polymers. A thermoplastic is a kind of plastic you can melt, make hard, and then melt again. It will still be the same kind of plastic. This makes thermoplastic materials perfect for the injection molding process. Some very popular injection molding resins are:
| Plastic Resin | Usos comunes | Características principales |
|---|---|---|
| ABS | LEGO bricks, keyboard keys, electronics | Strong, stiff, good surface finish |
| Polipropileno (PP) | Food containers, car parts, chairs | Flexible, cheap, resists chemicals |
| Policarbonato (PC) | Eyeglass lenses, water bottles, CDs | Very strong, clear, impact resistant |
| Nylon (PA) | Gears, bearings, zip ties | Strong, tough, low friction |
When you select a resin, you also have to think about how it acts inside the injection mold. Some resins shrink more than other types as they cool. The person who makes the mold needs to know which plastic resin you will use. This helps them make the cavity in the mold the perfect size. The mold used for one kind of plastic might not work for another. The injection mold has to be created for the specific thermoplastic you have chosen.
The injection molding cycle is the full list of steps it takes to make one molded part. This cycle happens again and again to create thousands of parts. It is a four-step process to achieve a good injection molded part. If you understand this cycle, you will understand how fast you can make your plastic parts.
The time it takes to finish one injection molding cycle can be from just a few seconds to a few minutes. This depends on the size and wall thickness of the part. It also depends on the kind of plastic that is used in injection molding. A well-designed injection mold helps to make this cycle as short as it can be. The goal is always to have a quick, repeatable cycle that makes a perfect injection molded part every time.
Standard thermoplastic injection molding is the most popular method. But there are also other special molding techniques. These different types of injection molding are used for parts that have special needs. It is helpful to know about them. One of them might be just right for your project.
One common type of molding is called insert molding. With insert molding, a part that is not made of plastic is put inside the mold. This could be a metal screw or an electrical part. It is placed in the mold before the plastic gets injected. Then, the molten plastic flows around the insert. The insert becomes a lasting part of the piece. This is great for parts that require the strength of metal but also need a shape that is easy to make with plastic. You will see this process used to make handles for screwdrivers.
Another kind is overmolding. This is when one plastic material is molded over another one. A toothbrush with a hard plastic handle and a soft, easy-to-grip material on it is a good example. First, the hard handle is made in an injection mold. Then, that handle is put into a second injection mold that has a different shape. A second, softer plastic is then injected over the top of it. This makes one part from more than one material. These types of injection molding give you many more possibilities for great design features. Each of these methods needs its own special kind of injection mold.
A normal steel injection mold can cost a lot of money. It can also take weeks or even months to make one. This is a big issue if you only want to check a design or make a small number of parts. This is where 3D printing and injection molding can work as a team. Today, you can use a 3D printer to create an injection mold from a strong kind of plastic or other material.
This method is known as molding with 3d printed molds. A 3d printed mold is not as strong as a mold made of steel. You cannot use it to make millions of parts. But a 3d printed mold is great for making about 50 to 100 parts. This is a wonderful way to check your part design using the real plastic material. You can do this before you spend a lot of money on a metal tool. An aluminum mold is another choice. It costs less than a steel mold and lasts longer than a 3d printed mold.
I love using injection molding with 3d printed molds. It lets me find mistakes quickly and without spending a lot of money. I can design a part, print a 3d printed injection mold in one night, and check it the very next day. If I find a problem, I can change the design and print a new mold right away. This is a perfect way to get started with injection molding. It helps you be sure your part is just right before you move on to a big, costly steel injection mold. A 3d printed mold is an amazing tool for making early test parts.
Even if you have a perfect injection mold, things can still go wrong during the process of molding. The final molded part can have problems, which are called defects. If you know what these problems are, it can help you fix them. The main goal is to create a perfect injection molded part with every cycle.
A common defect is called a “short shot.” This happens when the molten plastic does not fill the mold cavity all the way. You get a molded part that has a piece missing. This might be because the plastic is not hot enough or it was not injected fast enough. Another problem is “flash.” This is a thin sheet of extra plastic that leaks out from between the two mold halves. It usually means the injection mold is not closing all the way, or the pressure of the injection is too high.
Sink marks are little dips you can see on the surface of the molded part. They usually show up in places where the wall thickness is too thick. This is because the plastic shrinks as it starts to cool. That is why having a wall thickness that is the same everywhere is one of the most important design guidelines. Following good design principles can stop many issues that lead to defects. A good injection mold and a molding process that is run well will give you wonderful parts without any problems. To make a great injection molded part, you need a great injection mold.
Here are the most important things from this beginner’s guide to help you start making plastic parts: