Deje que Istar le ayude a poner en marcha su proyecto con nuestra experiencia y conocimientos.
Cargue sus archivos de diseño y requisitos de producción y nos pondremos en contacto con usted en menos de 30 minutos.

You have probably seen anodizing on things like flashlights, phone cases, or bike parts. It is that smooth, colorful, and very tough metal finish. Have you ever wondered how they do that? It is not paint. It is something much cooler.
In this article, I am going to show you all about anodizing. I will explain what it is, how the magic works, and why it is one of the best ways to protect and improve a metal part. If you work with metal or just love to know how things are made, this guide is for you. We will break down this amazing process into simple, easy steps. By the end, you will understand exactly how anodizing works and why it creates such a strong and nice-looking finish.
Let’s start with the simple facts. What is anodizing? Anodizing is a special way to treat the top of a metal. It is not like paint, which is just a layer of coating on top. When you anodize a part, you are really changing the surface of the metal itself. We anodize metal to make it stronger. It also becomes better at resisting scratches and rust. The way we anodize a part is very interesting.
Anodizing is an electrochemical process. That might sound hard, but it is not so bad. You can think of it like a science experiment that we control very carefully. We use electricity and a special liquid bath. This helps a strong layer grow on the metal. This new layer is called an oxide layer. This oxide layer becomes a part of the metal. It is not just sitting on the top. That is why an anodized finish is so tough. You cannot chip or peel it off like paint. People choose to anodize their metal parts when they need a finish that is both strong and looks good. To anodize something is to give it a superpower.

So, how does the anodizing work? The whole process happens inside a tank. This tank is filled with a liquid. That liquid is called an electrolyte. For aluminum, this is usually a kind of acid. We take the metal part we want to anodize and hang it in the tank. This part becomes the “anode.” That is where the name “anodizing” comes from! We connect the metal part to the positive side of a power source. We also put another piece of metal in the tank. It could be a plate of lead or aluminum. This piece becomes the cathode, and it is connected to the negative side. When the power is on, electricity flows through the liquid.
This flow of electricity does something very cool. It makes oxygen ions from the liquid join with the surface of our metal part. These oxygen ions build up. They create a very neat and hard oxide layer. This new surface layer has tiny, deep holes in it called pores. It looks a lot like a honeycomb. The longer you leave the part in the tank, the thicker and stronger the oxide layer gets. The whole anodization process is about controlling how this layer grows. This helps us get the perfect finish. It is an important process used to keep metal safe. The anodizing process can be divided into a few main steps to get the look we want. The anodizing creates a great finish.
I get this question a lot. People want to know why they should take the time to anodize a part instead of just painting it. The answer is simple. It is for durability and corrosion resistance. An anodized finish is very, very hard. It is much harder than the first metal. This means it can handle a lot of use and abuse. If you have a product that people will touch a lot, use a lot, or leave outside, it is very smart to anodize it. Anodizing creates a durable oxide layer.
The coating you get from the anodizing process also gives wonderful corrosion resistance. That oxide layer we grew is like a shield. It protects the metal under it from air and water. This stops rust and corrosion from happening. I have seen anodized parts used in automotive and boat products that look like new even after many years. Another good thing is adhesion. If you do need to paint the part later, the porous surface of the anodized metal gives a great surface for the paint to hold onto. What’s the difference between anodizing and a chromate conversion coating? Anodizing builds a much thicker and more durable coating.
Something people often get wrong is thinking you can anodize any metal. That is not right. The electrochemical process works best on some kinds of metal. The king of anodizing is aluminum. Anodized aluminum is everywhere! The way aluminum is made makes it perfect for this process. When you anodize aluminum, you get a finish that looks great and is very, very strong. Aluminum anodizing creates a wonderful surface finish.
But you can anodize more than just aluminum. You can also anodize these metals:
But, you cannot anodize steel. You also can’t anodize other metals that have iron in them. The same process that protects aluminum will make steel rust and break down. So, we stick to the metal types that work well with the anodizing process.
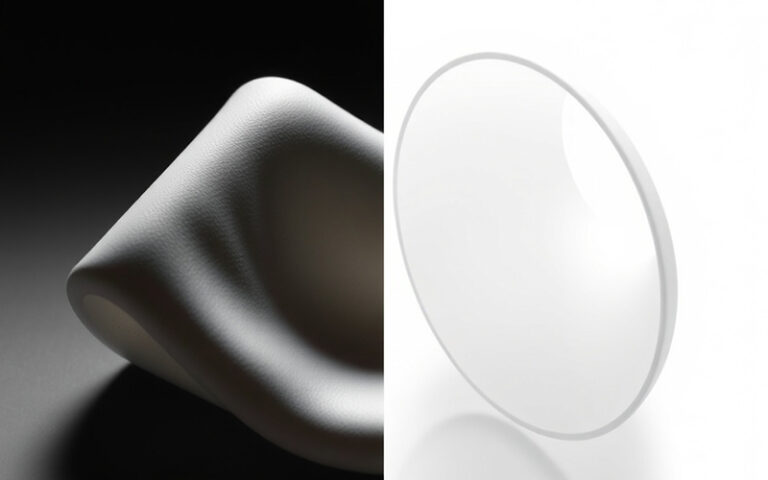
When we talk about an anodized finish, we are talking about how the metal looks and feels after the anodizing process. One of the great things about this finish is how good it looks. It does not look like a thick paint coating. The anodized surface finish still looks like metal. It has a nice metallic shine, but with a smooth, hard feel. The anodize process gives you a high-quality finish.
You can get different looks with an anodized finish. You can have a shiny, clear finish. This protects the metal but does not change its color. Or, you can create a matte finish. A matte look is very popular for things like electronics and fancy gadgets. We often use bead blasting before we anodize the part. This helps make a nice, smooth matte finish. This natural matte finish looks very classy. Anodizing can also be used to make certain colors like bronze or black. The final surface finish is both nice to look at and useful. To anodize a part means you care about the final surface finish.
This is my favorite part of the anodizing process. How do we get those wonderful colors? The secret is in the porous oxide layer. Remember the honeycomb look with all the tiny holes, or pores? After we build that oxide layer, we can dip the metal part into a tank of dye. The dye soaks into every single pore. The oxide layer is clear. So, the dye shows through very well.
We can use almost any color of dye we want. This lets us make anodized finishes that look great and all look the same. The dye gets locked inside the pores. It is not on the top. So, it will not rub off. It is protected by the hard oxide layer. This makes the color very strong. It also resists sunlight, so it will not fade. The final color of the part depends on the dye we use. It also depends on how long we leave it in the dye bath. The dye fills the pores and gives the metal its new look. We can anodize parts in so many amazing colors.
| Paso | Action | Propósito |
|---|---|---|
| 1. Anodizado | Grow the porous oxide layer. | Creates the hard, protective coating. |
| 2. Coloring | Put the part in a dye bath. | The dye goes into each pore. |
| 3. Sellado | Close the tops of the pores. | Locks the dye in and protects the finish. |
Not all anodizing is the same. There are different ways, or types, that give us different results. The type of anodizing we choose depends on what we need the finish to do. Some types are better for color. Other types are better for making the part super hard. Let’s look at the three main types.
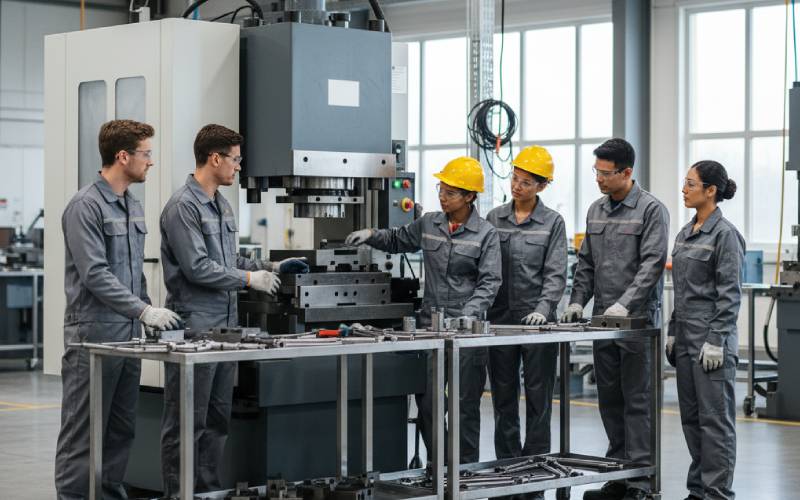
Picking the right type of anodizing is very important. It helps you get the right finish for your metal part. We always ask our customers how they will use the part before we anodize it.
When you need the very best strength and protection, you choose Type III anodizing. This is also called hardcoat anodizing. The process for Type III anodizing is a lot like Type II. But we do it when it is much colder. We also use more electricity. This creates an anodic oxide layer that is very thick and packed tight. The anodized layer is much harder than the others.
Type III anodizing is all about being strong. The coating is very good at resisting scratches, scrapes, and damage from rust and use. We use Type III anodizing for parts that need to last in very rough places. Think about factory machines, army gear, or special car parts. The finish is often gray or dark. You can dye it, but color is not the main reason to use it. The main reason for this coating is to make the strongest finish we can. Type III anodizing makes a metal part almost impossible to destroy.
You cannot just take a metal part and throw it in the anodizing tank. The surface preparation step is one of the most important parts of the whole anodizing process. If the surface is not perfectly clean, the anodize finish will look terrible. The oxide layer will not form the right way, and the dye will look spotty. We have to prepare its surface carefully.
First, we clean the part very well. We use special cleaners and solvents to remove all oil, grease, and dirt. We use deionized water and solvents for this. Sometimes, we have to use a brush to get the part perfectly clean. After cleaning, we often use a special chemical bath. This bath removes a very thin layer of metal from the surface. This gets rid of any small scratches and makes a nice, even matte surface finish. For a special matte finish, we might use bead blasting. This means we shoot tiny glass beads at the part to make a finish that is soft and not shiny. Only after all this surface preparation is the metal part ready to anodize.

The last step in the anodizing process is sealing. This step is very important, especially after we dye a part. Remember those tiny pores in the oxide layer? After we dye the part, the pores are still open. We need to close them. This locks in the color and gives the best protection from rust. Sealing fills the pores and creates a smooth, protected anodized surface.
There are a few ways to seal the finish. The most common way is to put the anodized part into hot deionized water. The hot water works with the oxide layer and makes it swell up. This closes the top of every pore. Another way is called cold sealing. Cold sealing uses special chemicals to seal the pores. It works at room temperature. It works very well. There is also mid-temperature sealing. This uses a bath with metal salts, often with nickel. This process deposits a layer that fills the pores. No matter which way we do it, sealing is what makes the anodized finish so strong and makes it last a long time. After we submerge the part in deionized water for sealing, the anodize job is done.
I hope this helped you learn about the amazing world of anodizing. I love this process. It turns a plain piece of metal into something strong, nice-looking, and that lasts a long time.
Here are the most important things to remember: