이스타르의 경험과 노하우를 바탕으로 여러분의 프로젝트를 시작할 수 있도록 도와드리겠습니다!
디자인 파일과 제작 요구 사항을 업로드하시면 30분 이내에 답변해 드리겠습니다!
A countersink is a small detail that can make your work look much better. It also makes things safer and stronger. In this article, I will explain the countersink hole. I will share my experiences and explain everything you need to know. We will look at what a countersink hole is. We will see how it is different from a counterbore hole. We will also learn how to make the right countersink for your fastener. When you finish, you will know why this small part can make your designs much better. This information is helpful if you work with wood or metal. It is also good for people in the aerospace or car industries.
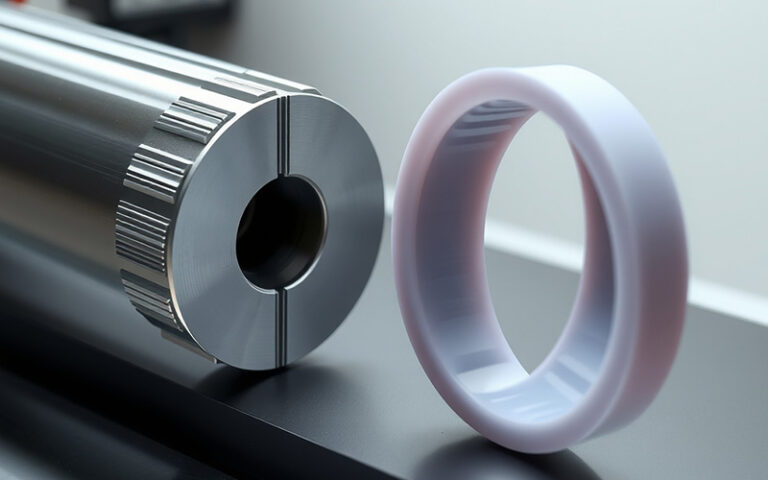
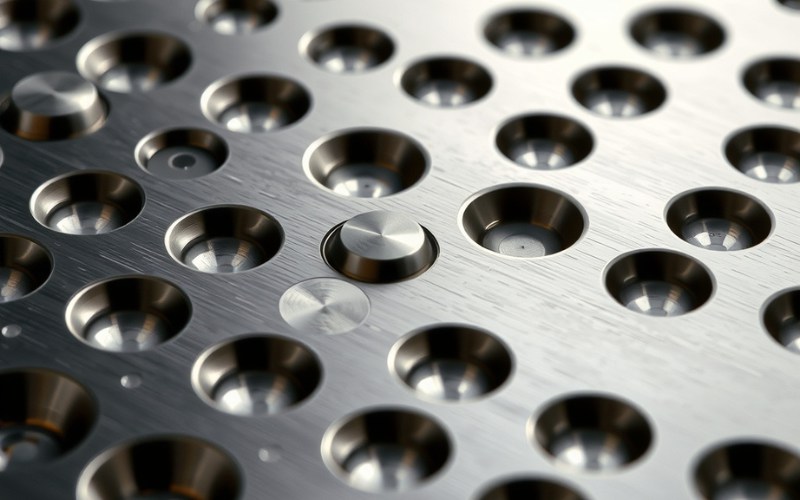
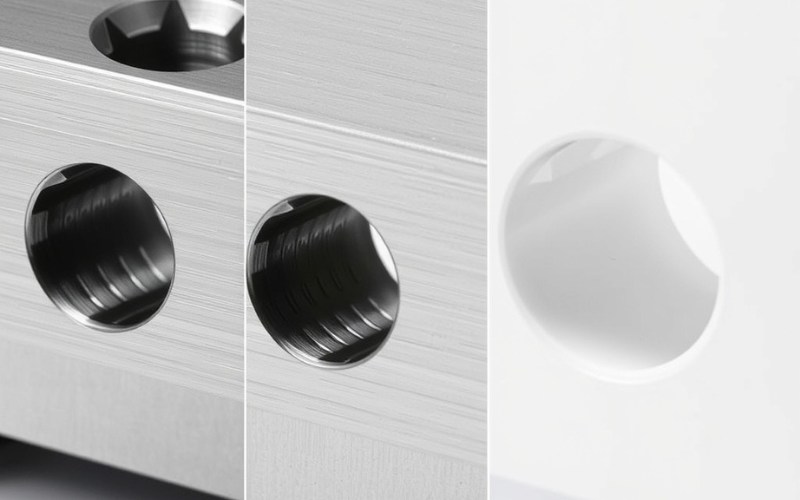
I remember the first time I had to add a countersink hole to a drawing. I thought it was just a special way to make the top of a hole bigger. But it is more exact than that. A countersink hole is a cone-shaped hole made in an object. This special hole has a cone shape. It lets the head of a fastener sit flat. The fastener could be a flat-head screw or a rivet. The head will be level with the surface or just under it. You can think of it like making a perfect nest for the fastener head to sit inside.
The most important part of a countersink is its cone shape. The angle is not random. The countersink angle is picked to match the angle under the fastener’s head. This matching angle makes the fastener fit flat and look clean. Making this shape is called countersinking. It is a basic skill in mechanical engineering. If you see a product where the screws are not sticking out, it probably has a good countersink. The goal is to make a smooth surface. This is important for how it looks and how it works. A good countersink makes sure there are no sharp edges or parts sticking out.
In my job, I learned that a countersink does more than just make things look nice. Looking good is a big plus, though. There are very useful reasons to use countersinking. The main reason is that a countersink lets a fastener head sit flat with the surface. This is very important for many uses. For example, in aerospace work, a smooth surface helps planes move through the air better. When making furniture, it stops clothes from catching on a screw. Making things look better is a big reason why countersinking is used so often.
Besides looking good, a countersink also makes the connection stronger. The fastener sits flat, which spreads out the force. This can stop the material from getting damaged. For example, it can stop wood or other weak materials from splitting. This also makes it less likely for the fastener to get loose later on. Safety is another big reason. Fastener heads that stick out can be dangerous. They can catch on your skin, clothes, or other tools. A countersink removes this danger. It makes the product safer.
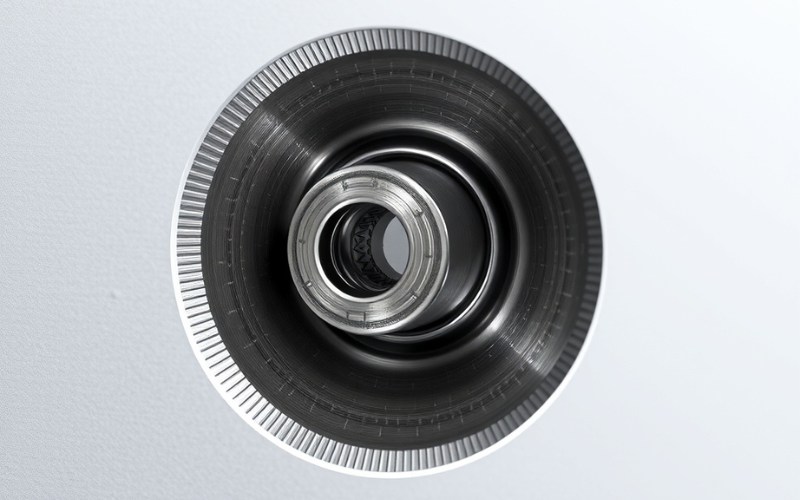
It is easy to confuse a countersink and a counterbore. But they are for different jobs. They are also used with different kinds of fasteners. I have seen this mistake cause problems when putting things together. The biggest difference is the shape of the cutout. A countersink is a cone-shaped hole. It is made for a fastener that has a head with an angle, like a flat-head screw. A counterbore is different. It makes a cutout that is shaped like a cylinder and has a flat bottom. This counterbore hole is used for a fastener with a flat head, like a socket head cap screw.
Here is an easy way to remember it:
| 기능 | 카운터 싱크 | 카운터보어 |
|---|---|---|
| 모양 | Cone-shaped (angled sides) | Cylinder-shaped (straight sides) |
| Bottom | Pointed (ends at the pilot hole) | 플랫 |
| Fastener Type | Flat-head screws, rivets (angled head) | Socket-head cap screws, bolts (flat head) |
Both a countersink and a counterbore let a fastener head sit flush or below the surface. But the one you choose depends completely on the fastener you have. If you use a countersink tool when you need a counterbore, the connection will be weak. This is because the fastener head will not have a flat spot to push on. In the same way, using a counterbore for a cone-shaped fastener will leave empty spaces. This will make a weak spot. Knowing this difference is very important for good design. It also helps make things easier to build.
Picking the right countersink angle is not a guess. It is a very important step. The angle must match the fastener you are using. If the angles are different, the fastener will not sit right. This can make the connection weak and look bad. I learned this from a mistake on a project. We had many parts made with the wrong countersink angle. The fasteners did not sit flush. We had to make all of the parts again.
The most common countersink angle choices are set by rules like ANSI and ISO.
The rule is easy to follow. Always check the information for your fastener. The countersink angle of the hole needs to be the same as the angle of the fastener head. This makes sure the head sits perfectly. It gives the most support and makes the connection strong.
To make a countersink, you need the correct tool. You cannot just use a bigger drill bit. That will make a hole that looks bad and is not the right shape. The main tool you need is called a countersink bit. It is sometimes called a countersink cutter. These bits are made with a special conical tip. The tip matches the countersink angle that you need.
Here are a few common kinds of countersink bits:
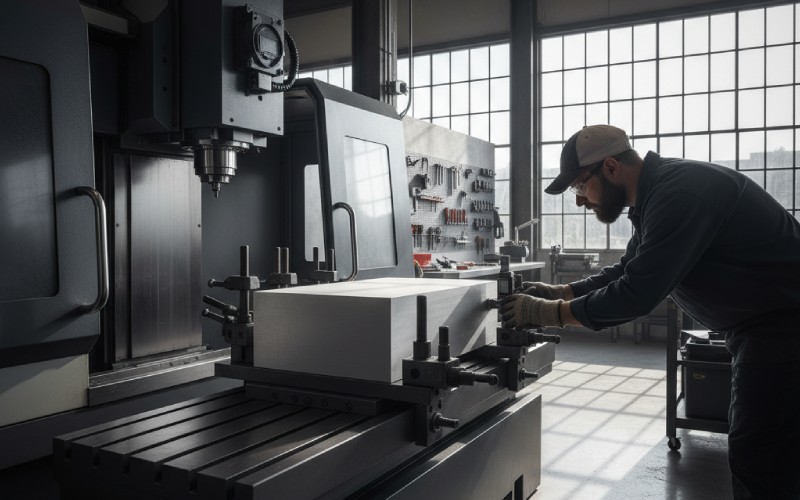
You also need a normal drill or a drill press. This will hold the countersink tool and make it spin. For work that needs to be exact, I always suggest using a drill press. It makes sure the countersink is in the exact center. It also makes it straight up and down. This is much harder to do with a drill you hold in your hand. Using the right, good-quality tool is the first step to making a great countersink.
Making a high-quality countersink is a simple job if you follow the right steps. I have done this many times for woodworking and metal projects. The goal is to make a clean and exact conical space for your fastener.
Here is the step-by-step way I do it:
If you follow these steps, you will get a perfect countersink every time. It is a skill that uses the right tool, the right diameter, and a bit of practice.
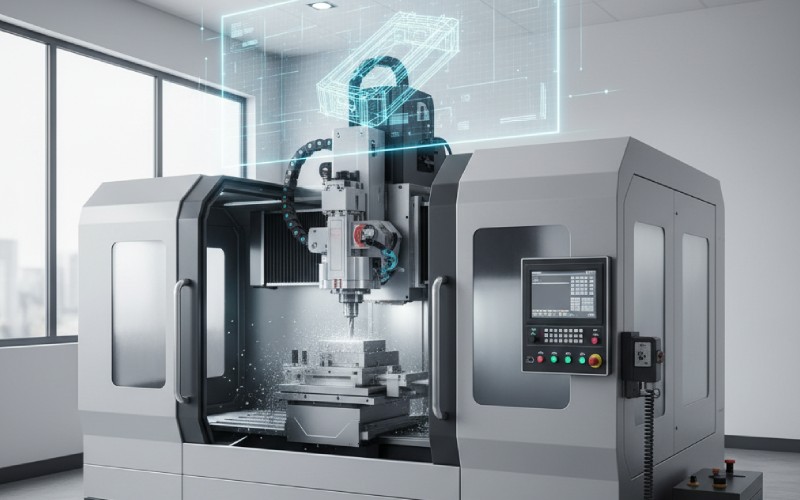
When you work with CNC machining, sheet metal making, or injection molding, you must show your plans clearly on your drawings. If you are ready to upload your designs, you need to use the right callout for a countersink hole. In my work, I have found that clear manufacturing callouts stop expensive mistakes.
There is a standard picture for a countersink. It looks like a “V”. On a drawing, the callout for a countersink hole usually has three important pieces of information:
A normal callout might look like this: Ø0.25 ⋁ Ø0.50 X 90°. This tells the maker to make a pilot hole with a 0.25-inch diameter. Then, they should add a countersink that has a large diameter of 0.50 inches and a countersink angle of 90°. Most CAD programs have tools that make it easy to create this callout. Using these CAD tools helps you follow ANSI and ISO rules. It makes sure your metal part will be made with the right tolerance.
I have seen many countersink mistakes. They can spoil a part that was perfect otherwise. Knowing about these common problems can save you time, money, and headaches. The most common mistake I see is drilling the countersink too deep. This makes the fastener sit under the surface. This looks bad and it also makes the connection weaker. It removes too much material from around the fastener head. Using a drill stop can help you get the right depth every time.
Another common mistake is using a countersink tool with the wrong countersink angle for the fastener. An 82° fastener in a 90° countersink will not make full contact. This will make the fastener wobbly and it can become loose over time. Also, using a dull cutter can rip the material instead of cutting it. This leaves a rough surface. Always use a sharp, good-quality tool. Lastly, not drilling a pilot hole first is a mistake. This is especially true in woodworking or with weak brittle materials. It can cause the material to split or crack around the hole. Taking your time and watching these details are key best practices for any countersink job.
The countersink is very useful, which means you will find it in many different various industries. I have seen countersink holes in all kinds of things, from small electronics to big factory machinery. The aerospace industry uses countersinking a lot. It helps to make smooth surfaces on airplanes, which is important for how they fly. Every rivet and fastener on the outside of a plane is usually placed in a countersink hole.
In the automotive world, a countersink is used to make cars look good on the outside. It is also used for important parts inside the engine. People who do woodworking and make furniture use a countersink all the time. It helps to hide screw heads and stops the wood from splitting. You will also find a countersink in making electronics, sheet metal parts, and even in injection molding designs. It helps put plastic parts together with a flat-head screw. This simple conical profile is a great example of smart mechanical engineering. Because it is used so much, it shows how important a flush fastener is to making things today.
After many years of designing and making parts, I have a list of best practices. I always follow these steps to make sure I get a perfect countersink. First, always match the countersink angle to your fastener. You must do this to make sure the connection is strong. Second, always drill a pilot hole before you countersink. This helps guide the cutter and stops material damage. Third, use a sharp, good-quality countersink tool. A dull tool will make the surface rough and can damage your part.
Fourth, pay close attention to the diameter and depth. The large diameter of the countersink should be just big enough to fit the fastener head. Try it on a spare piece of material first. This helps you get the depth just right so the fastener will sit flush. Lastly, after you drill, always do deburring. This means removing any sharp edges. It will give you a clean, expert look and help stop corrosion. Following these steps will make sure your countersink not only looks good but also works perfectly. It will give your fastener a strong and safe place to be.
To finish up, let’s go over the most important things to remember about the countersink hole: