이스타르의 경험과 노하우를 바탕으로 여러분의 프로젝트를 시작할 수 있도록 도와드리겠습니다!
디자인 파일과 제작 요구 사항을 업로드하시면 30분 이내에 답변해 드리겠습니다!
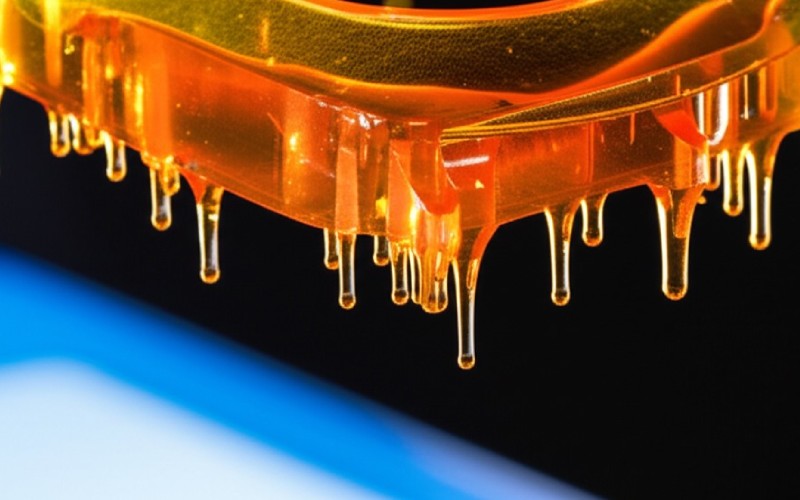
The stereolithography printer is like magic. A detailed part was slowly coming up out of a tank of glowing liquid resin. The final 3d printed item was very smooth and full of detail. This article is for you if you have ever asked yourself how this amazing resin 3d print process works. I will explain SLA 3D printing using simple words. This will help you understand this great technology and figure out if it is the right one for your projects.
Have you ever heard someone say SLA 3D printing? It is short for stereolithography. That is a long word, but the main idea behind it is easy to understand. It was the very first 3D printing technology. It was invented a long time ago, back in the 1980s. Think about a special kind of liquid resin. This resin gets hard when a light shines on it. That is the main idea of stereolithography. This way of building things adds material, layer by layer, to make a 3d object.
Unlike some 3d printers that melt plastic string, SLA 3d printers use a liquid called photopolymer resin. A sharp beam of light, which is usually a UV laser, draws the shape of each layer on the top of the resin. The liquid resin turns into a solid where the light touches it. This action happens again and again. It builds your object from the bottom to the top. It is one of the most exact 3d printing technologies you can find today.
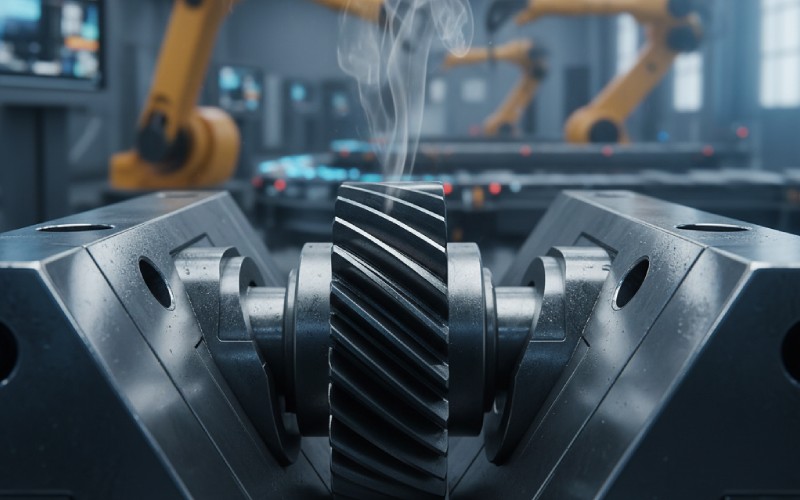
The best part of this 3d printing process is that it can make parts with wonderful detail. It uses light to cure the liquid resin. Because of this, it can make very small details. This is why SLA 3D printing is a top choice for people who need to make a beautiful, detailed prototype or model. This is very different from other printing methods.
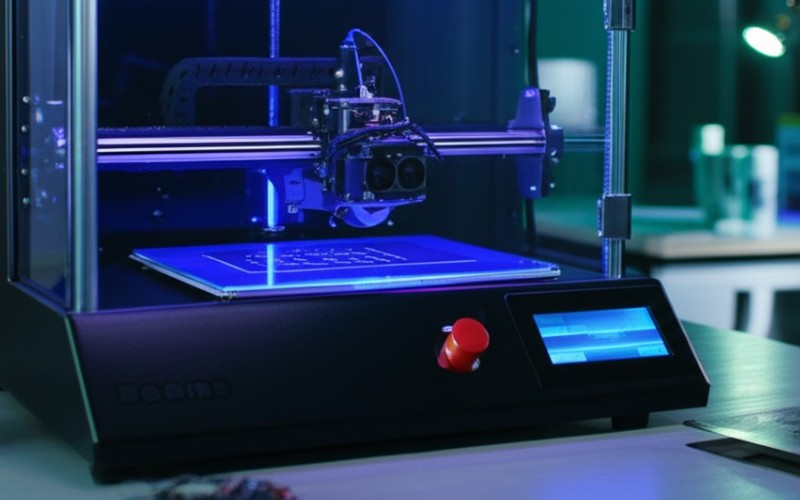
So, how does the machine really build an object? Let’s go through the steps of the print process. Inside an SLA printer, there is a container called a resin tank. This tank is filled with liquid photopolymer resin. There is also a part called the build platform. This is the flat surface where your object will be built. The print process starts when the build platform goes down into the resin. It leaves only a thin bit of liquid resin over it.
Next, the light starts to work. Most new desktop sla printers shine the light from under the tank. This method is called inverted stereolithography. A UV laser or a special light projector shines up through the clear bottom of the resin tank. A similar technology that uses a projector is called DLP, which means digital light processing. The light carefully draws the first layer of your design. The resin that gets hit by the ultraviolet light will cure, which means it will harden and stick to the build platform.
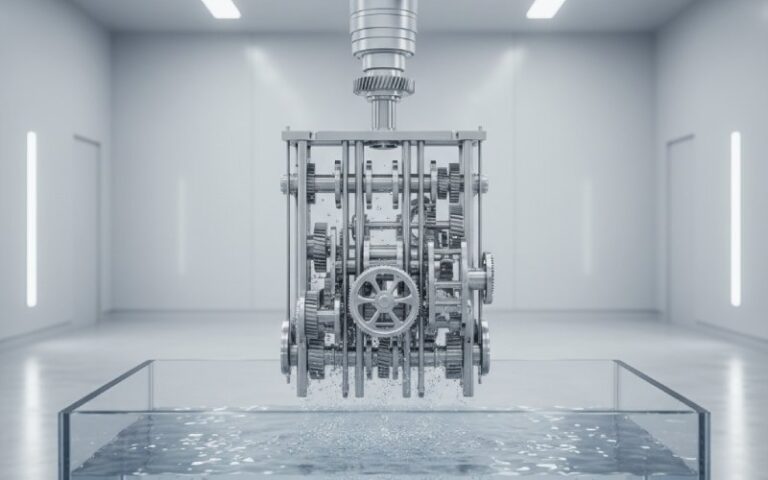
After the layer is done, the magic happens one more time. The build platform lifts up just a little. This lets a new layer of liquid resin flow underneath. Then, the laser draws the next layer. That layer hardens and sticks to the one below it. The printer does this 레이어별 process hundreds or even thousands of times. Your 3d printed part slowly appears, as if it is being pulled from the liquid resin.
The “ink” that SLA 3d printers use is not really ink. It is a special liquid called a photopolymer resin. The word “photo” is about light, and “polymer” is a kind of plastic. So, it is a liquid plastic that changes when light hits it. This resin is made of very tiny building blocks. When ultraviolet light shines on this special resin, it causes a change called photopolymerization. This process connects all the tiny building blocks together. When this happens, the liquid resin turns into a solid.
There are many different kinds of resin. You can find many SLA resins that act in different ways. Some kinds of resin are very hard and strong. These are perfect for making a tough prototype. Other kinds of resin are bendy, like rubber. You can even find resin that is safe for making things for dentists, like a guide for a medical implant. The color of the resin and how it acts will decide how your final prototype will look and feel.
Because you can use different kinds of resin, SLA 3D printing is very helpful. You can pick a resin that is clear or colored. You can choose one that is strong or one that is flexible. You can also pick a resin that can take a lot of heat or one that will not break if you drop it. The most important thing is that the resin must be able to be hardened by ultraviolet light. The resin you pick is just as important as the design of your prototype. The right resin makes sure your prototype will work the way you want it to.
The history of stereolithography is really the history of 3D printing itself. It all began in Japan in the early 1980s. A man named Dr. Hideo Kodama was looking for a way to make a real prototype from a computer design. He was the first person to write about a modern layered approach to stereolithography. He explained how to make 3d objects by successively, or one after another, printing thin layers. He had a great idea but did not get a patent for it in time.
A few years later, on the other side of the world, an American named Chuck Hull was working on a similar idea. He was unhappy with how long it took to get a simple plastic prototype made. He had an idea for using ultraviolet light to cure light-sensitive plastic. In 1986, he got his patent for his idea, which he called “stereolithography.” He also helped start the company 3D Systems. This company sold the first 3d printers for businesses to buy.
Chuck Hull’s invention started the whole field of rapid prototyping. Before he invented this, making a prototype took a long time and cost a lot of money. After his invention, people could make a real prototype in just hours instead of weeks. This changed how products were designed forever. And it all began with a beam of light and a container of liquid resin.
Just like all 3d printing technologies, SLA 3D printing has its good points and bad points. It is important to know the advantages and disadvantages. This will help you choose the right printer for your prototype. I have learned that it is a great choice for some jobs, but not for all of them.
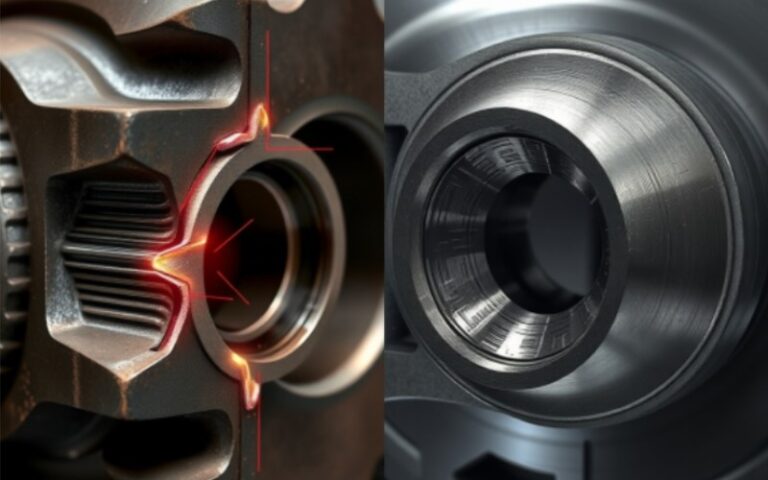
Let’s talk about the good parts first. The biggest good thing is the amazing detail and smooth surface finish. SLA makes parts with smooth surface finishes and small details that are difficult to get with other methods. You will see almost no visible layer lines. This makes it great for making a prototype that is meant to be looked at, one that looks like a real, finished product. SLA 3D printing can make very detailed designs that are also very exact.
Now, let’s talk about the not-so-good parts. The liquid resin can be messy to handle. You should always wear gloves and be careful. The resin can also have a strong smell. The finished sla parts can sometimes be easy to break when you compare them to parts made with other 3d printers, like FDM printers. Another thing to think about is the work you do after printing. When the printer is done, you are not. You still have to wash and cure the part. Also, the printing speed can be slower if you are printing large, solid things.
Here is a simple table to help you see the good and bad points:
| Good Things About SLA Printing | Bad Things About SLA Printing |
|---|---|
| Very high detail and very exact | Resin is messy and can smell |
| Great, smooth surface finish | Parts can be easy to break or not very strong |
| No visible layer lines | Needs to be washed and get a final cure |
| Many kinds of SLA resins to choose from | The printing speed can be slow |
When people talk about 3d printers, they often picture the kind that melts a string of plastic. That way of printing is called FDM, or fused deposition modeling. FDM printers build things by pushing out melted thermoplastic string, kind of like a hot glue gun. It is a very common and not too expensive technology. It is great for making a strong prototype that needs to work. But FDM parts usually have clear visible layer lines. They cannot be as detailed as an SLA 3d print.
Another common technology used in big factories is SLS 3D. This stands for selective laser sintering. SLS 3D uses a strong laser to melt together material that is a powder, like nylon. It can make very strong and detailed parts without needing any supports. It is a great tool for industrial 3d printing. But the printers and materials cost a lot of money. Also, how smooth the outside is cannot match SLA.
So, where does SLA 3D printing belong? You can think of it as the artist among the 3d printing technologies. FDM is like the strong builder. SLS 3D is like the powerful factory maker. But SLA is all about beauty and detail. If you need a prototype to test how it moves and works, FDM might be a better choice. But if you need a beautiful prototype for a show or to make a mold, SLA is usually the best pick. The printer you choose should be based on what you need your prototype to do.

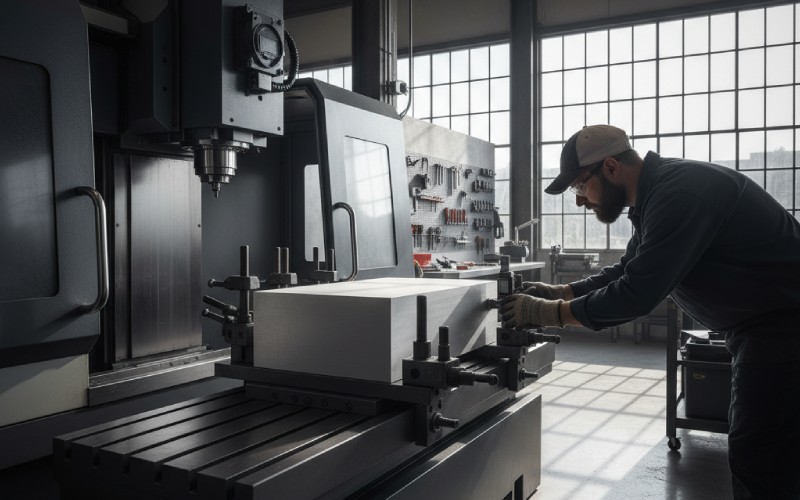
The fact that SLA 3d printers can make very detailed and exact parts makes them helpful for many things. For a long time, they were mainly used for rapid prototyping. An engineer could make a design on a computer using CAD software. Then, they could hold a real prototype in their hands the very next day. This let them test how a product looked and felt. They could do this before spending a lot of money on tools for injection molding. A good prototype can save a person a lot of time and money.
But SLA machines are used for much more than just a simple prototype. They are used a lot in the dental field to make models of teeth that fit perfectly. They are also used to make surgical guides and night guards. How exact an SLA printer is makes it perfect for this kind of work. Jewelers also use them to make detailed shapes for making jewelry. An artist can use a resin 3d print to make a very detailed sculpture.
Engineers use SLA parts to make special tools that hold things in place in factories. Doctors can use 3d printed models of body parts to get ready for surgery. They can also make a guide for a medical implant. Because new, tougher kinds of resin have been made, people now use SLA to make real parts, not just models. As the technology gets cheaper and easier to get, we see people using this amazing resin printing for more and more new ideas.
It’s a simple set of steps to go from an idea to a real prototype with an SLA printer. Everything begins with a design on a computer. First, you need a 3d model of the thing you want to print objects of. You can make this model yourself with CAD (Computer-Aided Design) software. You can also download a model that someone else has made online. This computer file is the plan for your prototype.
After you have your 3d model, you need to get it ready for the SLA printer. You will use a special kind of software called a “slicer.” The slicer software takes your model and cuts it into hundreds of thin digital layers. It also lets you add support structures. These are like small stilts that you can remove later. They help hold up parts that stick out while the object is being printed. Without these supports, parts of your prototype might fall down or break. The slicer then makes a final file with directions for the printer.
Now you are ready for the machine. You check that the resin tank has enough of the right liquid resin. You also make sure the build platform is clean. Then you send the file from your computer to the printer. The SLA printer will handle the rest. The print process will start. You can then watch as your prototype slowly comes out of the liquid resin. It is a very fun part of the rapid prototyping process.
When the SLA printer makes a sound to let you know it is done, your prototype is not quite ready to be used. This is a major difference from some other 3d printers. The new 3d printed part is still on the build platform. It is covered in sticky, liquid resin. You have to do some clean-up work. First, you gently take the build platform out of the printer. Then you carefully pull your part off the platform.
The next thing to do is give your prototype a bath. You have to wash it to get any extra liquid resin off the outside. People usually do this by moving the part around in a container of isopropyl alcohol (IPA). This cleaning part is very important. If you do not wash off all the extra resin, the outside of your prototype will stay sticky and it won’t feel smooth.
After washing and drying it, there is one last, very important step: the final cure. The part that comes out of the printer is not as strong as it can be. You need to cure it some more with UV light. This final cure makes the resin completely hard. It also makes the prototype strong and solid. You can buy special UV curing lights, or you can even just use the sun. This last cure makes sure the part is strong enough and will last for a long time. Once you cure the thermoset resin, your sla printed part is finally finished.
So, now that you have learned about stereolithography, you may be asking if an SLA printer is the right tool for you. The answer is, it depends on what you need from your prototype. You should think about what is most important for your project. Is it being strong? Is it having a lot of detail? Is it the cost? Answering these questions will help you pick the right 3d printing process.
You should pick an SLA 3D printer if the most important thing for your prototype is how it looks and how much detail it has. If you need a prototype that looks like a final product, with a smooth surface finish and very small details, then SLA technology is a great choice. It is perfect for artists, people who make models, and product designers who need a beautiful prototype to show others. If you plan to use your prototype to make a mold, SLA is also a great choice.
But, if you need a working prototype that has to be very strong and can be pushed or pulled on, another technology like FDM might be a better pick. The normal resin used in SLA can be easier to break than the thermoplastic used in FDM printers. There are some tough SLA resins you can buy. But FDM is often better for a prototype that needs to work, not just look good. The best printer is the one that is right for the job you need your prototype to do. For a prototype with a lot of detail, nothing is better than a resin-based printer.
Here are the most important things to remember about SLA 3D printing: