Tecrübemiz ve bilgi birikimimizle Istar'ın projenize başlamanıza yardımcı olmasına izin verin!
Tasarım dosyalarınızı ve üretim gereksinimlerinizi yükleyin ve 30 dakika içinde size geri dönelim!

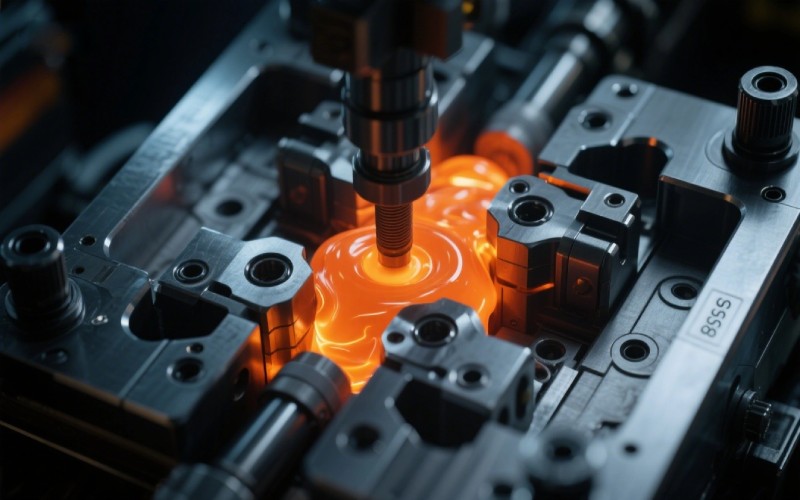
In this article, we’ll explore some of the most common injection molding defects. I’ll explain what they are, what causes them, and most importantly, how you can troubleshoot and prevent them. This guide is for anyone who wants to improve the quality of their molded parts and save time and money by avoiding common molding issues.
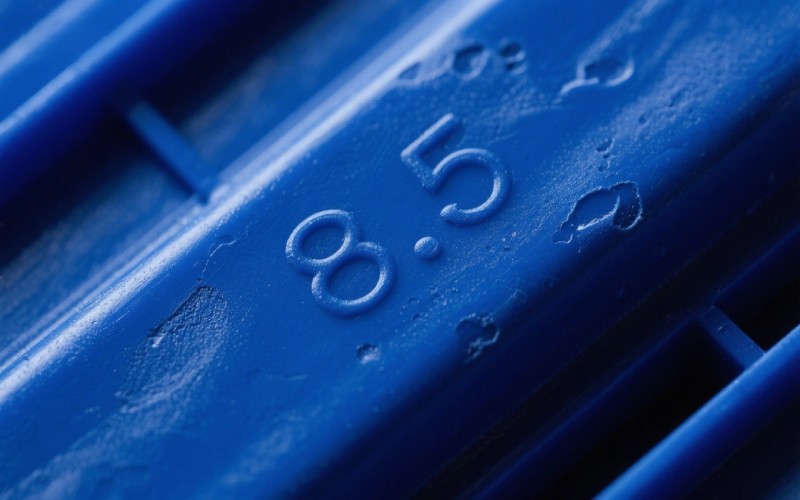
Sink marks are one of the most common defects in injection molding. They look like small craters or depressions on the surface of a molded part. From my experience, sink marks are a sign that the plastic inside the part is not cooling evenly. This often happens when the inner sections of a molded part shrink, pulling material from the still-molten outer surface inward. This shrinking action creates the tell-tale sink mark. The primary cause of sink marks is often related to the wall thickness of the part. Thicker sections will naturally take longer to cool than thinner sections, leading to this uneven shrinking.
To get rid of sink marks, the first thing to check is the injection pressure and holding time. Increasing the injection pressure can help pack more molten plastic into the mold, compensating for the shrinkage. A longer holding time at pressure also gives the material more time to solidify before the pressure is released. Another effective strategy is to adjust the mold temperature. A lower mold temperature can help the outer layers of the part solidify faster, making them more resistant to being pulled inward. In some cases, a complete mold design overhaul might be necessary, focusing on creating a more uniform wall thickness throughout the part.
A short shot is exactly what it sounds like – the molten plastic doesn’t completely fill the mold cavities. This results in an incomplete molded part. When I encounter a short shot, my first thought is to investigate the flow of the plastic material. There are several potential causes for this type of defect, and troubleshooting often involves a process of elimination. The most common culprit is insufficient injection pressure or injection speed. If the pressure isn’t high enough, the resin simply won’t have the force to reach the furthest points of the mold before it starts to cool and solidify.
The causes of short shots can also be related to the mold itself. Blocked gates or runners can restrict the flow of plastic. Similarly, if the mold temperature is too low, the molten plastic can cool too quickly, preventing it from filling the entire mold. Trapped air pockets within the mold can also block the flow of plastic, leading to a short shot. To prevent this defect, I recommend increasing the injection pressure or injection speed. You can also try increasing the mold temperature to improve the flow of the plastic. Ensuring your mold design includes proper venting will also help to prevent trapped air from causing issues.

People often use the terms weld line and knit lines interchangeably, and for the most part, they refer to the same type of injection molding defect. A weld line appears on the surface of an injection molded part where two or more fronts of molten plastic have met but have not fused together properly. Knit lines are essentially a weaker form of a weld line. I’ve found that this defect is not just a cosmetic issue; it can also represent a weak point in the molded part, potentially leading to failure under stress.
Weld lines in injection molding are typically caused by the way the molten plastic flows and cools within the mold cavities. When the resin enters the mold through multiple gates or flows around an obstruction, the flow fronts will eventually meet. If the temperature of these fronts has dropped too much, they won’t be able to merge seamlessly, creating the visible line. To eliminate weld lines, increasing the mold temperature is a good first step. A higher temperature will help the flow fronts stay molten longer, allowing them to fuse together more effectively. Increasing the injection speed can also help by filling the mold faster, giving the plastic less time to cool before the fronts meet.
Jetting is a type of defect that occurs when the injection speed is too high, especially at the beginning of the injection process. It appears as a snake-like or wavy line on the surface of the molded part, usually starting from the injection gate. This happens when the molten plastic is injected into the mold at such a high velocity that it squirts or “jets” across the mold cavity instead of filling it in a smooth, progressive manner. This initial jet of material then starts to cool and solidify before the rest of the mold is filled, creating a visible and often structurally weak area.
The primary cause of jetting is excessive injection speed. To prevent this defect, the solution is often as simple as reducing the injection speed. By slowing down the initial flow of plastic into the injection mold, you allow the material to spread out more evenly and fill the mold in a more controlled way. Adjusting the injection nozzle position so that the molten plastic is directed against a mold wall can also help to break up the jet and promote a more uniform fill. It’s a balance, though, as a slow injection speed can sometimes lead to other defects like short shots.
Flow lines are a surface defect that can appear as a wavy pattern or a series of rings on the surface of an injection molded part. They often show the path the molten plastic took as it flowed through the injection mold. While sometimes subtle, flow lines can be a significant cosmetic issue, especially for parts that are visible to the consumer. In my experience, flow lines are typically caused by variations in the cooling speed of the molten plastic as it flows through the mold.
There are several factors that can contribute to the formation of flow lines. A common cause is a low injection speed or insufficient injection pressure, which can cause the plastic to cool and solidify at different rates as it fills the mold. A low mold temperature can also exacerbate this issue. To eliminate flow lines, I often start by increasing the injection speed and pressure. This helps to fill the mold more quickly and evenly, reducing the chances of premature cooling. Increasing the mold temperature can also be effective. Sometimes, a simple change to the mold design, such as rounding the corners of the mold, can help to improve the flow of plastic and prevent this type of defect.
Burn marks are a frustrating defect that appears as black or brown discoloration on the surface of a molded part. I’ve seen these marks ruin an otherwise perfect batch of injection molded products. The root cause of burn marks is typically trapped air pockets within the mold that become superheated and “burn” the plastic material. This trapped air gets compressed by the incoming molten plastic, and the rapid increase in pressure causes a sharp rise in temperature, leading to the burn.
The primary cause of these trapped air pockets is often inadequate venting in the injection mold. If the air that is displaced by the molten plastic has no way to escape, it gets trapped and compressed. Excessive injection speed can also contribute to this problem by not giving the air enough time to escape through the vents. To prevent burn marks, the first thing I check is the mold’s venting. Ensuring there are adequate and properly placed vents is crucial. Reducing the injection speed can also give the air more time to escape. In some cases, lowering the melt temperature can also help, as a cooler material is less likely to scorch.
While both vacuum voids and sink marks are related to the cooling and shrinking of the plastic, they are distinct defects. A sink mark, as we discussed, is a depression on the surface of the part. A vacuum void, on the other hand, is an internal defect – a bubble or an empty space trapped within the molded part. From the outside, a part with a vacuum void might look perfectly fine. However, this internal defect can significantly weaken the part and cause problems down the line.
The cause of a vacuum void is similar to that of a sink mark: uneven cooling and shrinkage of the resin. When the outer layers of the part solidify before the inner core, the shrinking inner material can pull away from the center, creating a void. This is more common in thicker sections of a part. To prevent vacuum voids, similar strategies to preventing sink marks can be employed. Increasing the injection pressure and holding time helps to pack more material into the mold, reducing the chance of a void forming. A well-designed mold with uniform wall thickness is also key.

A streak is a molding defect that appears as a discolored line or a smear on the surface of an injection molded part. This is different from flow lines, as a streak is usually a different color from the rest of the part. In my experience, a streak is often caused by contamination in the molding material. This could be a small amount of a different colored plastic resin, a foreign particle, or even degraded material that has been stuck in the injection nozzle.
Preventing streaks starts with good housekeeping and material handling. Ensuring that the molding material is pure and free from contaminants is the first and most important step. Thoroughly cleaning the hopper, injection nozzle, and the entire feed system between production runs of different colored materials is essential. If you are still seeing streaks, it could be that the molding material is overheating in the barrel, causing it to degrade and change color. In this case, lowering the barrel temperature or reducing the residence time of the material in the barrel can help.
I can’t stress this enough: a good mold design is the foundation for producing high-quality injection molded parts. Many of the common injection molding defects we’ve discussed can be traced back to a flaw in the mold design. For example, a mold with non-uniform wall thickness is a recipe for sink marks and vacuum voids. A mold with inadequate venting will almost certainly lead to burn marks. A poorly designed gate or runner system can cause a whole host of problems, from short shots to jetting and weld lines.
When I’m involved in a new project, I pay close attention to the injection molding design from the very beginning. A well-designed injection mold will have consistent wall thickness, properly sized and located gates, and effective venting. The cooling channels should be designed to ensure even and efficient cooling of the part. By investing time and resources into a robust mold design, you can prevent a wide range of molding defects before they even have a chance to occur. It’s much easier to troubleshoot a process parameter than it is to fix a poorly designed injection mold.
The molding process itself is a delicate balance of temperature, pressure, and speed. When one of these parameters is out of whack, it can lead to defects. When I’m trying to troubleshoot a molding defect, I always start by looking at the process settings. For example, if I’m seeing short shots, my first instinct is to check the injection pressure and speed. If I’m dealing with burn marks, I’ll look at the injection speed and the melt temperature. The key is to understand the relationship between the process parameters and the potential defects.
A systematic approach is best. I recommend changing only one parameter at a time and observing the effect on the molded part. This will help you to isolate the root cause of the defect. Keeping detailed records of your process settings for each run is also crucial. This allows you to refer back to successful runs and replicate those conditions. Remember that the molding process is not a “set it and forget it” operation. Small changes in ambient temperature, humidity, or even the resin itself can affect the final product, so you need to be prepared to make adjustments to the molding process as needed.
In my years of experience, I’ve found that a vast majority of injection molding defects can be traced back to either the molding process or the material itself. While a poor mold design can certainly be the culprit, it’s often the interplay between the process parameters and the plastic resin that leads to problems. For example, a particular type of polymer might be more prone to shrinking, making it more susceptible to sink marks. In this case, you would need to adjust your molding process to compensate for the material’s properties.
Defects often occur when there’s a mismatch between the chosen molding material and the established molding process. The molding material that appears fine on paper might behave differently under the specific conditions of your injection mold. The injection speed and pressure that worked perfectly for one type of resin might be completely wrong for another. That’s why it’s so important to have a deep understanding of both the materials you are using and the intricacies of the injection molding process. By carefully selecting your materials and fine-tuning your process, you can overcome many of the common defects that plague the industry.