Let Istar help you get started on your project with our experience and know-how!
Upload your design files and production requirements and we will get back to you within 30 minutes!
A raw 3d print often has rough spots and visible layer lines. This article is for you if you want to turn your basic 3d print into a professional-looking piece. I will share everything you need to know, from the first step of cleaning to the final coat of paint. I will show you the simple finishing and painting methods to make your finished prints look amazing. This is your guide to getting a smooth finish.
Before you even think about making your 3d print smooth, you need to gather a few simple tools. Trust me, having the right gear makes the whole process much easier. First, you will need something to remove the 3d print from the build platform. A simple scraper often comes with the 3d printer. You will also need flush cutters or a small knife to snip off bits of extra plastic. A set of small files is also great for getting into tight corners where sandpaper can’t reach.
Most importantly, you will need sandpaper. You don’t need every kind, but a small variety of grit levels is key. Always keep sheets of 120, 220, and 400 grit sandpaper on hand. The number tells you how rough the paper is. A low number is a coarser grit, and a high number is a finer grit. We use these different grit levels to slowly sand away imperfections on the 3d print. Finally, get some safety glasses and a dust mask. You don’t want tiny bits of plastic in your eyes or lungs when you sand your 3d print.
Many 3d printed parts need help to print correctly. Your printer builds these helpers, called support structures, to hold up any tricky parts, like an overhang. These supports are not part of the final model. The first step in any finishing job is to remove this support material. The parts come off the printer with these extra bits attached. You have to get rid of them before you can start the real work of making your 3d print look good.
The best way to remove support structures is with a pair of flush cutters and needle-nose pliers. Be gentle. If you pull too hard, you can break your printed part. Carefully snip and twist the supports away from the main 3d printed part. Sometimes, a small piece of the support structures will leave a mark or a blemish. Don’t worry about that now. We will fix those marks later when we sand the 3d print. The goal here is just to get the main shape of your printed part free from all the extra stuff. A multi-tool can also be useful here.
If you look closely at a raw 3d print, you will see tiny horizontal lines. These are called layer lines or striation. They are a natural result of how an FDM 3d printer works. It builds your printed part one layer at a time. While these lines show how the 3d print was made, they don’t look very good. Sanding a 3d print is the most common way to get rid of them. The goal of the sanding process is to create a uniform surface.
Sanding does more than just remove the striation. It also helps you find and fix other small problems on the surface of the part. As you sand, you will feel for bumps and dips. This step is crucial if you plan on painting 3d printed parts. Paint will make every little line and bump stand out even more. So, if you want a professional look and feel, you cannot skip sanding. It is the foundation for a great surface finish. A good sanding and finishing job makes a huge difference. This is one of the most important 3d printing post-processing methods.
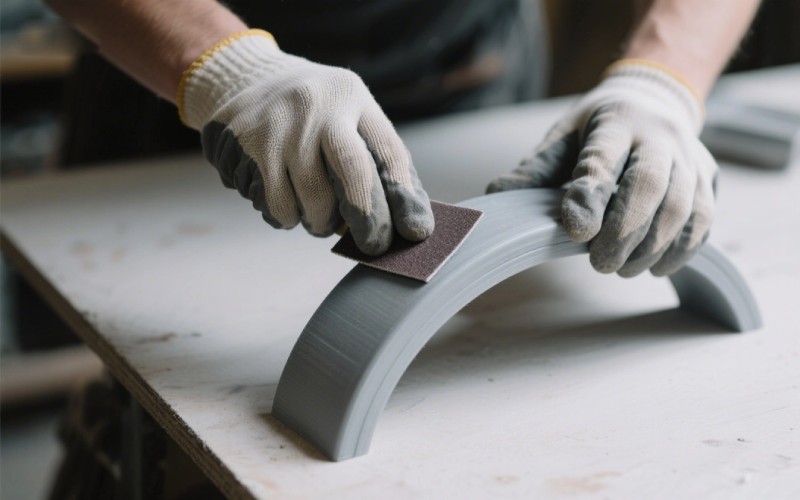
Sanding and painting a PLA 3d print is a common task. PLA is a popular filament because it’s easy to print with, but it can be a little tricky to sand. The key is to take your time and not press too hard. If you sand too fast or with too much force, the friction can create heat. This heat can melt the PLA plastic and make it feel gummy. This makes it even harder to get a smooth result.
I always start with a coarser grit sandpaper, like 120 or 200 grit. I sand the entire 3d printed part in small, circular motions. This first pass removes the biggest layer lines. After the whole printed part is dull and has a matte look, I wipe it clean and switch to a finer grit, like 220 grit. I repeat the process. For an even smoother finish, you can wet sand the 3d print. To do this, you just dip your sandpaper in water. The water keeps the dust down and helps prevent the PLA from melting. After the 220 grit, I move to 400 grit for a pretty smooth surface. This finishing technique works well for any PLA print.
Yes, you absolutely should use a primer. Think of primer as a magic liquid that fixes small problems. After you sand your 3d print, it might look smooth, but there are still tiny scratches and holes. A good filler primer is designed to fill these in. When you spray a coat of primer on your printed part, it creates a new, clean surface. This makes your final paint job look much better.
I recommend using a spray can primer made for plastic models. It’s easy to use and works great on a PLA print. Before you prime, make sure you clean your part. Wipe it down with a cloth and some IPA (isopropyl alcohol) to remove any dust or oils. Then, spray a light first coat of primer. Don’t try to cover the whole 3d printed part at once. It’s better to apply several thin coats than one thick one. Let each coat of primer dry completely before you add the next one. The primer gives the paint something to stick to, which is called good adhesion.
Sometimes, sanding alone is not enough. Your 3d print might have bigger gaps or dents, especially where you removed support structures. This is where filler primer and putty come in. Filler primer is thicker than regular primer. It does a better job of filling in deeper scratches and striation. I often apply a thick coat of filler primer after my first round of sanding.
After the filler primer is dry, sand it again, usually with a finer grit sandpaper. This step of using primer and then sanding helps to make the surface and even. If there are still deep spots, use a spot putty. Apply a small amount of putty with a small tool, let it dry, and then sand it smooth. This process of adding a coat of primer, sanding, and adding putty may require a few cycles. It takes patience, but it’s how you get a perfectly smooth surface, ready for paint. This is key for a good prototype.
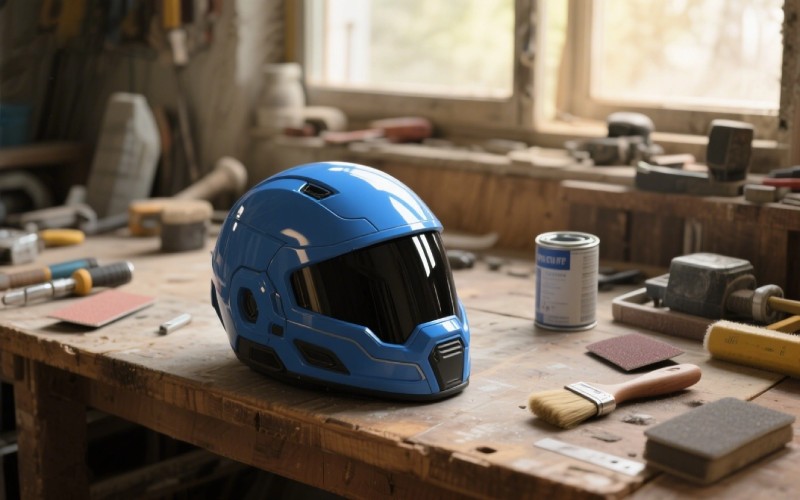
Once your 3d printed part is sanded and primed, it’s time for the fun part: painting! Using a spray paint can give you a beautiful, even coat. The trick is to use the right technique. First, shake the can very well. You want the paint inside to be mixed perfectly. Hold the can about 6 to 8 inches away from your 3d print. If you spray too close, the paint will run and drip.
Always start spraying just off to the side of the printed part and move the spray across it in a steady motion. Let go of the nozzle after you pass the part. This prevents big drips of paint at the start and end of your pass. Apply a very thin layer for your first coat. It might not cover everything, and that’s okay. Let it dry, then apply another thin coat. You will need multiple coats to get a solid color. You can choose a matte paint for a flat look or a glossy paint for a shiny surface. After your color coats are dry, you can add a clear coat of varnish to protect the paint.
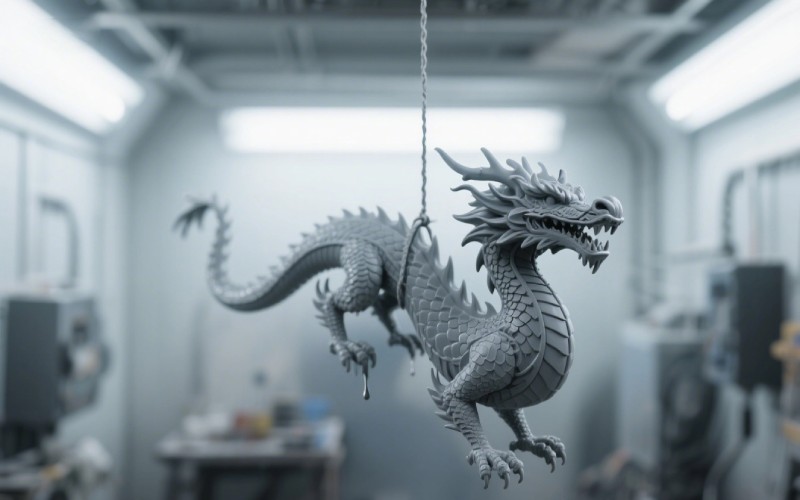
If you want to avoid sanding for hours, there is another way to get a smooth and glossy finish. You can use a special two-part epoxy resin to coat your 3d print. One popular product is called XTC-3D. This is a thick liquid that you mix together and then brush onto your 3d printed part. The epoxy is self-leveling, which means it spreads out on its own and fills in all the layer lines. It creates a hard, clear, and glossy finish.
To use it, you mix the two parts of the resin together. Some kits even come with a syringe for accurate measuring. Then, you use a foam brush to apply a thin coat over your entire 3d print. The epoxy will fuse with the plastic polymer and create a strong shell. It can be a bit messy, so wear gloves and work on a protected surface. This method is great for parts with complex geometry that are hard to sand. The final surface texture is very smooth. This is a very scalable method if you have many parts to finish. You can get best results with just one coat.
Sanding and painting are the most common ways to finish an FDM 3d print, but there are other tricks. One method is called vapor smoothing. This is mostly used for an ABS print, not a PLA one. It involves using a chemical vapor, like acetone, to slightly melt the outer layer of the plastic. This melting action makes the layer lines disappear, leaving a very smooth, shiny surface. This process can be dangerous if not done correctly, so it’s more of an advanced technique.
Another simple method is using dye. If you have a 3d print made from a light-colored filament, you can change its color with fabric dye. You just heat up a pot of water with the dye and let your printed part soak in it. This gives the plastic a deep, rich color that won’t chip or scratch off like paint. For a really amazing look, you can try polishing. After sanding with very fine grit sandpaper (up to 2000 grit or more), you can use a plastic polish and a soft cloth. This can give your 3d print an almost mirror-like polished finish.
Finishing a 3d print can take a lot of time, sometimes more time than it took to print the part! Over the years, I’ve learned a few things to make the workflow faster. First, think about finishing before you even start your 3d print. If you can, orient your model on the 3d printer’s build plate to minimize the need for support material. This saves a lot of cleanup time per part. Also, printing with a smaller layer height will make the layer lines less visible from the start.
Create a dedicated space for your sanding and finishing work. Have all your tools, sandpaper, and primer in one place. This saves you from hunting for things. When you sand, work in batches if you have multiple parts. Sand all of them with the coarser grit, then move to the next grit for all of them. This assembly-line approach can streamline the process. Finally, remember that not every 3d print needs a perfect finish. A quick prototype might not need any finishing at all. Decide on the desired surface finish you need before you start. This will save you from doing extra work on your 3d print. You can apply many coats of primer to speed up smoothing the surface.