Let Istar help you get started on your project with our experience and know-how!
Upload your design files and production requirements and we will get back to you within 30 minutes!
In this guide, I am going to show you everything you need to know about the STL file format. We will look at what it is, the way it works, and how you can make a perfect STL file every time. When you are done reading this, you will be able to use any STL file without any worry. You will get very good results from your 3D print projects.
Let’s begin with the simple facts. An STL file is the most used file format in the 3D printing world. The name STL comes from “stereolithography.” This was one of the first ways of doing additive manufacturing. You can think of an STL file as a special plan for your 3D printer. It does not have any information about color, feel, or material. Its only purpose is to explain the outside shape of a 3D model.
You see, your 3D printer cannot understand the fancy, changeable 3D model you create in a CAD program. That first file has lots of information about how it was made. The printer just needs to know one thing: “What is the final shape I have to build?” The STL file format gives the answer to that question. It is a simple language that almost every 3D printer in the world can understand. It connects your computer design to the real thing you want to make.
Once you have your STL file, you bring it into a program called a slicer. The slicer software looks at the shape in the STL file. It then “slices” it into many thin, flat layers. This creates a new file, which is often in a format called G-code. G-code gives your printer step-by-step directions. It tells the printer where to go and what to do, layer by layer, to make your 3D print. So, if you do not have a good STL file, you cannot get a good G-code file. And you will not get a good 3D print.
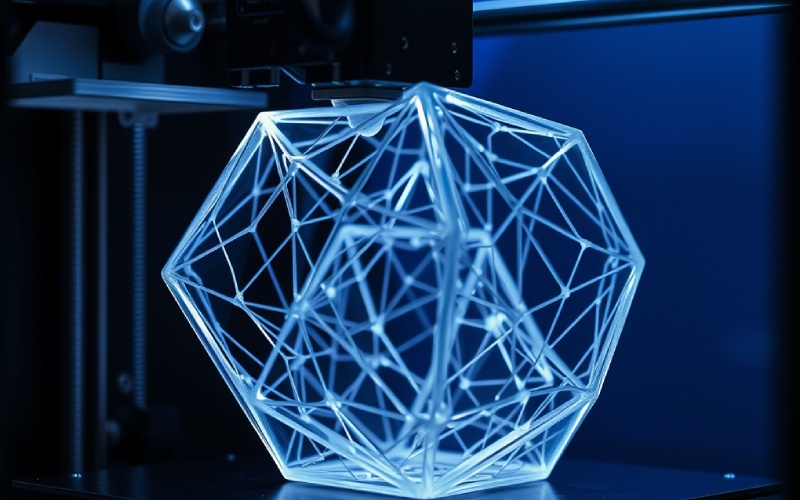
This part is very interesting. At first, I thought an STL file was a perfect, smooth copy of my 3D model. But that is not exactly true. An STL file explains the surface of your model with a method called tessellation. That is just a big word for covering a surface with a net of many simple shapes. For the STL file format, this shape is always a triangle.
Let’s say you want to make a perfect ball. You cannot make a round ball with flat shapes. But you can get very close to it. You can do this by connecting hundreds or thousands of tiny, flat triangles. The more triangles you use, the smaller they are. And the closer your object will look to a perfect ball. An STL file is really just a long list of positions for the corners (or vertex) of every single triangle that covers the surface of your 3D model. This mesh of triangles shows the complete surface geometry.
This way of doing things is simple, but it is also very strong. It lets the STL file format describe very detailed shapes. The file format can be one of two kinds: ASCII or binary. The ASCII format is easy for a person to read, but it makes very large files. The binary format is much smaller. You should use the binary format most of the time when you export an STL file. Your slicer software can read all of this triangle information and know the exact shape it needs to slice for the 3D print.

Yes, there are. The STL file is the old and trusted format in the 3D printing industry. But it is not the only choice. In my own work, I have used a few other formats. The most popular other choice is the OBJ file format. Another newer format is called 3MF. Each one is good for different things.
Let’s take a quick look at the most popular choices.
| Feature | STL File Format | OBJ File Format |
|---|---|---|
| Main Use | 3D Printing, Making Prototypes | 3D Graphics, Cartoons |
| Color/Texture | No | Yes |
| Details | Simple (only triangle geometry) | More detailed (can use other shapes) |
| Works With | Works with every 3D printer | Works with many, but not all |
| File Size | Usually smaller (binary format) | Can be bigger because of color info |
The OBJ format is useful because it can hold information about color and texture. If you want to make a 3D print with many colors, OBJ is a good choice. It is also good if you want to see a full-color picture of your 3D model. But, for a simple 3D print with just one color, the STL file is still the best. It is strong because it is simple. This means it works with almost every piece of 3D printing software and hardware. There are other formats, like PLY and VRML. But for most people, the choice is between an STL file and an OBJ.
You have two main ways to get an STL file for your next 3D print. You can design a 3D model on your own. Or you can download a model that another person has already created. Both are great ways to go, and it just depends on what you want to make.
If you want to make something special and new, you will need to use computer-aided design (CAD) software. If you are just starting, I suggest using tools that are free and easy to use, like Tinkercad. It works in your web browser and is easy to figure out. As you get better, you may want to use stronger programs like Autodesk Fusion 360 or Solidworks. In these programs, you design your part. Then, you use an export button to save it as an STL file.
If you just want to find a fun thing to 3D print, there are great websites where people share their 3D print files. Websites such as Thingiverse, MyMiniFactory, and Printables have millions of free STL files. You can find helpful things for your house or beautiful art pieces. You can look through the sites, download the STL file you want, and send it right to your slicer. This is a great way to start using your 3D printer right now.
Making an STL file from your CAD software is a very important step. The settings you pick when you export will directly affect the quality of your final 3D print. I have used CAD software like Autodesk Fusion 360 a lot. I can tell you that the export part is pretty easy, but the settings can be a little confusing when you first see them.
When you are ready to make your STL file, you will usually go to “File,” then “Export.” Then, you will choose “STL” as the file type. This will open a pop-up box with a few important choices. You will have to pick between binary and ASCII format. You should always choose binary because it makes a smaller file size. After that, you will see choices for resolution or detail.
This is the part where you tell the program how many triangles it should use to build the mesh for your STL file. The choices are often called “High,” “Medium,” or “Low.” But I suggest you use the “Custom” settings to have the best control. This lets you choose exact numbers for things like chordal deviation and angular deviation. We will talk about those next. Learning how to use these settings well is the secret to making a great STL file.
Okay, this might sound a little hard, but it is easy to understand if you picture it in your mind. These two settings, chordal deviation and angular deviation, are what control the resolution of your STL file. They decide how close the flat triangles in the mesh can get to the real, curved shapes of your original 3D model.
It is important to find a good mix. If you set the chordal deviation and angular deviation numbers too low, you will get a huge file size. And it might not make your model look any better. If you set them too high, you will get a blocky 3D print that has low resolution. For most of your projects, a chordal deviation of about 0.1 mm and an angular deviation of 5-10 degrees is a good place to start. You can change these settings based on how much detail your 3D model needs.
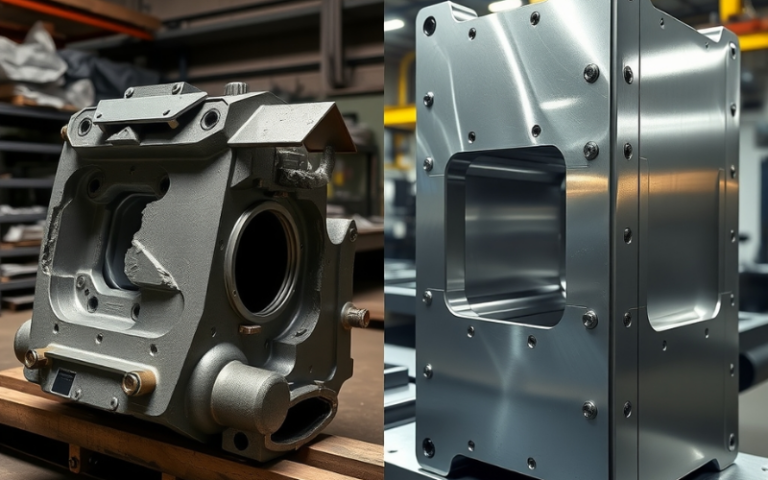
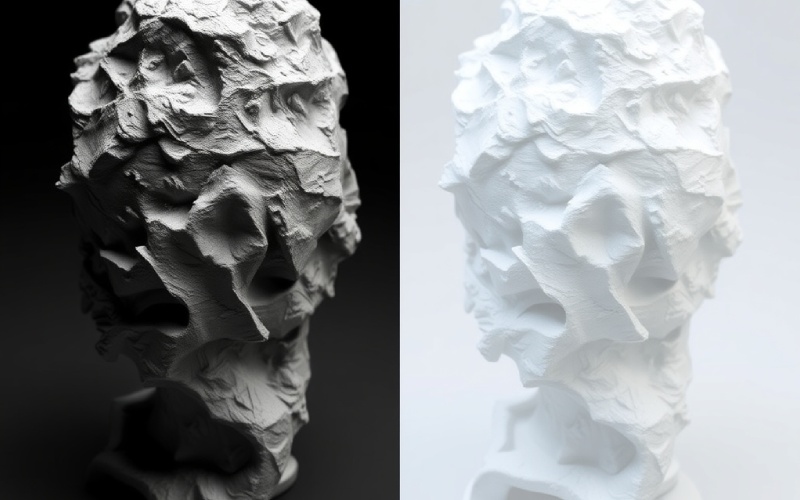
The resolution of your STL file has a direct effect you can see on your 3D printed part. A low-resolution STL file does not have enough triangles to show the curves of your 3D model correctly. When you 3D print a file like this, you will see the separate triangles as flat faces, or facets, on your object. A curved part might look like it has many sides instead of being a smooth circle. This can make your 3D print look bad and not work right.
But a higher resolution STL file uses a mesh with many triangles packed closely together. This lets the STL file copy the original shape very closely. The final product is a 3D printed part with a smooth surface that looks like it was made by a professional. For parts that must be very exact, like in the aerospace or engineering worlds, making sure the measurements are very correct starts with a high-resolution STL file.
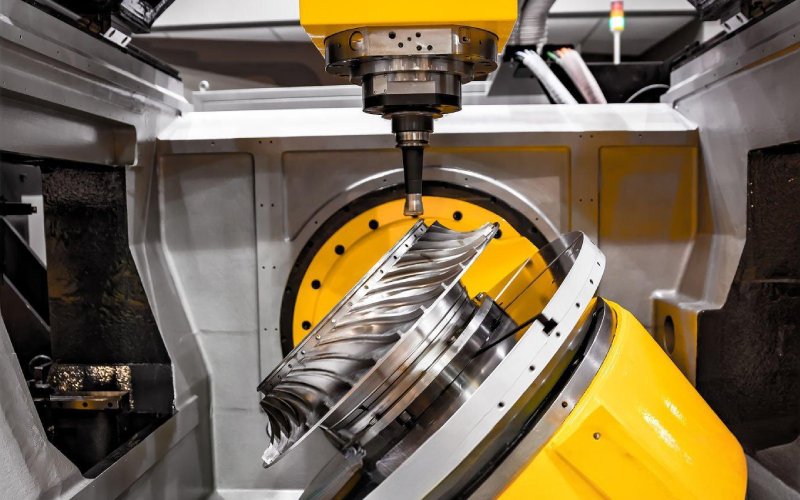
But, there is a point where more effort does not give you better results. Your 3D printer has a limit to how much detail it can physically make. This limit is based on its nozzle size and how it moves. If you make an STL file with a resolution that is much higher than what your printer can actually make, it is a waste of time. It only makes the file size larger. It does not make the final 3D print any better. The idea is to make the STL file resolution match the amount of detail you need and what your 3D printer can do.
Yes, a very big file size for an STL file can surely cause problems. I found this out myself when I exported a very detailed 3D model with very, very high detail. The STL file that I got was hundreds of megabytes big. My computer was able to open it, but the issues began when I tried to use my slicer on it.
The slicer is the software that gets your STL file ready for the printer. It does a hard job. The slicer needs to look at every single triangle in the mesh to figure out the printer’s path. When you have an STL file that has millions of triangles, this can take a very long time. Big files can make your slicer software slow, stop working, or even close by itself. It can make slicing become very, very slow.
Even if your slicer finishes, a huge file does not promise a better 3D print. Like I said earlier, if the detail in the STL file is smaller than what your 3D printer can physically make, all of those extra triangles are just useless information. It is much smarter to use good export settings. This helps you make an STL file that has enough detail for a nice surface but is small enough for your slicer to use easily.
Over time, I have made a list for myself. This list helps me make sure every STL file I make is ready for a good 3D print. Following these good habits will save you time, printing material, and a lot of headaches.
Here are my best tips:
People ask me many questions about this subject. Here are answers to the most common ones. This should help clear up anything you are not sure about.
We covered a lot of ground. But knowing about the STL file is a very key skill for 3D printing. Here are the most important points: